
Soft Garlic Bread Rolls

Fluffy, buttery rolls brushed with garlicky herb butter — perfect alongside soups, pasta, or as a party snack.
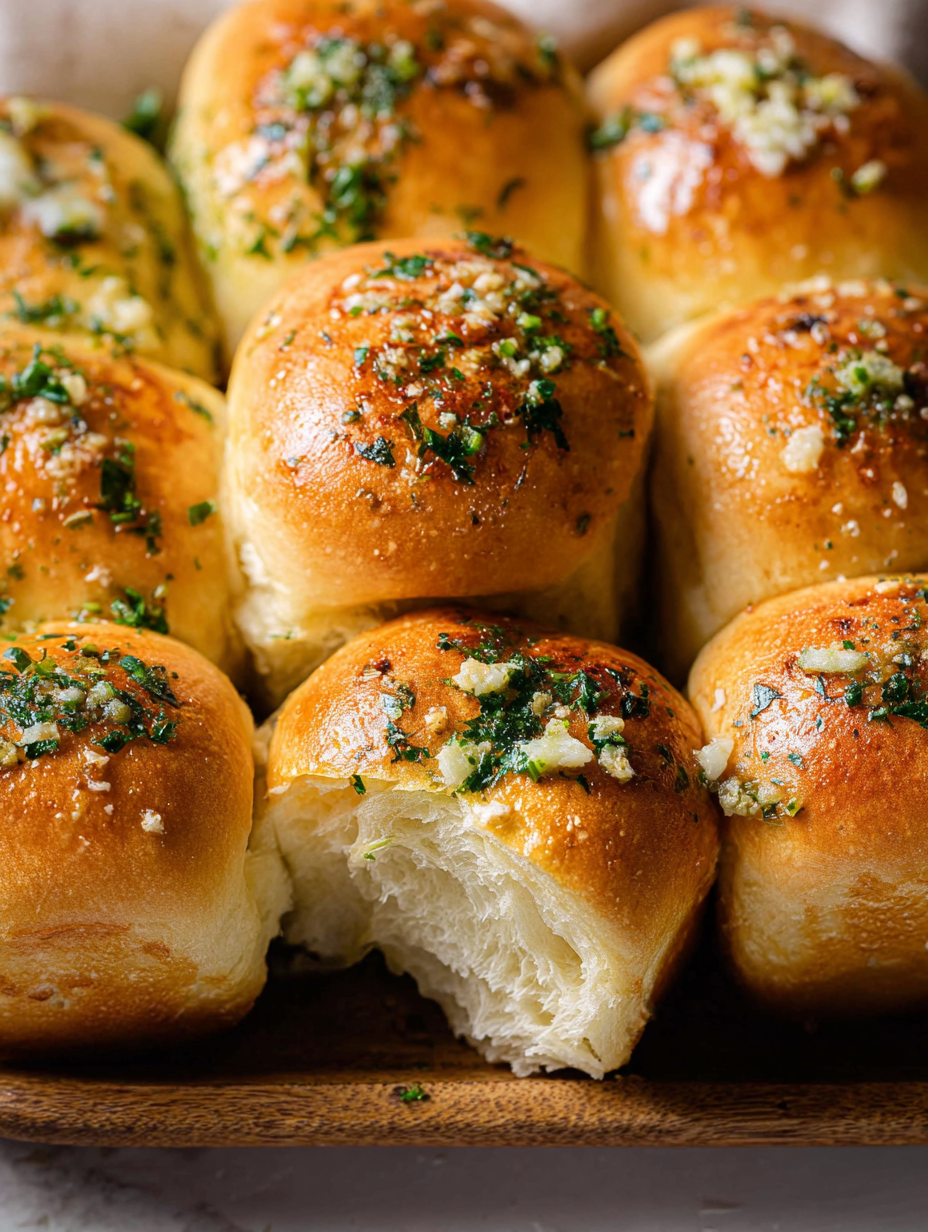
Why You'll Love This Recipe
- Ready in about 2 hours from start to finish, including rising time, with only 20 minutes of active hands-on work — great for busy weeknights and last-minute guests.
- Uses simple pantry staples like all-purpose flour, sugar, milk, and butter; no specialty flours or long fermentations required.
- Soft, enriched dough produces rolls that stay tender for days when stored properly; they freeze beautifully for make-ahead convenience.
- Versatile: serve them with soups, pasta, grilled meats, or use as slider buns — the mild garlic-herb finish complements many dishes.
- Beginner-friendly techniques such as measuring flour by spooning and leveling, and using warm milk for consistent yeast activation.
- The finishing touch of flaky sea salt and fresh parsley elevates simple bread into an impressive side without much extra effort.
I first adapted this method after a cooking class where the instructor emphasized enriched doughs. Since then I have tweaked the garlic ratio and baking time to suit my oven and family preferences. My kids now help form the rolls and sprinkle the parsley — it became a small ritual that makes any meal feel like an occasion.
Ingredients
- All-purpose flour (3 1/2 cups + 1 tablespoon): Measure by spooning flour into the cup and leveling with a knife to avoid dense dough. Use unbleached all-purpose for best texture; King Arthur or Bob's Red Mill work well.
- Unsalted butter (4 1/2 tablespoons + 2 tablespoons for garlic butter): Room-temperature butter softens the dough; reserve extra melted butter for the finishing garlic butter for flavor and shine.
- Instant yeast (2 1/4 teaspoons): A single packet of instant yeast speeds proofing and can be mixed directly into dry ingredients for reliability.
- Granulated sugar (1 tablespoon): Feeds the yeast and helps develop a golden color on the rolls without sweetness.
- Fine sea salt (1 teaspoon) plus flaky sea salt for finishing: Fine salt adds balanced seasoning to the dough; flaky salt sprinkled after baking gives satisfying crunch.
- Whole or 2% milk (1 cup, warmed to 110°F): Warm milk hydrates and enriches the dough for a soft crumb. Use a thermometer to avoid overheating; 110°F is ideal for yeast activation.
- Eggs (1 large room temperature + 1 beaten for brushing): One egg in the dough adds tenderness; an extra beaten egg brushed on top yields a glossy finish.
- Minced garlic (2 tablespoons for dough, 1 tablespoon for butter): Use fresh garlic for a bright, aromatic flavor. Alternatively, roast garlic for a sweeter, milder profile.
- Fresh parsley (3 tablespoons chopped + 1 tablespoon for butter): Adds herbaceous color and freshness; flat-leaf parsley holds up well with the warm garlic butter.
Instructions
1. Activate and combine: Warm 1 cup of milk to 110°F (use a thermometer). In a large bowl or the bowl of a stand mixer, combine 3 1/2 cups plus 1 tablespoon all-purpose flour, 2 1/4 teaspoons instant yeast, 1 tablespoon sugar, and 1 teaspoon fine sea salt. Add 4 1/2 tablespoons softened butter, 2 tablespoons minced garlic, 3 tablespoons chopped parsley, and the warm milk. Add 1 room-temperature egg and mix with the dough hook on low until ingredients start to come together, about 2 minutes. If mixing by hand, stir with a wooden spoon until shaggy. 2. Knead for structure: Knead the dough on medium speed with a dough hook for 6 to 8 minutes until the dough is smooth and slightly tacky but not sticky. If kneading by hand, turn onto a lightly floured surface and knead 8 to 10 minutes. The dough should pass the windowpane test: stretch a small piece until thin without tearing to see light through it. 3. First rise: Form the dough into a ball and place it in a lightly oiled bowl, turning to coat. Cover with plastic wrap or a clean kitchen towel and let rise in a warm, draft-free place until doubled, about 60 to 75 minutes depending on room temperature. 4. Shape the rolls: Punch down the dough and divide into 12 equal pieces (about 2 ounces each). Shape into tight balls by pulling the dough beneath itself on a work surface to create surface tension. Place rolls close together in a greased 9x13-inch baking pan to encourage soft sides and a tender pull-apart texture. Cover and let rise until nearly doubled, about 30 to 40 minutes. 5. Bake with egg wash: Preheat the oven to 375°F. Brush the risen rolls with the beaten egg for a glossy top. Bake for 18 to 20 minutes until the tops are deep golden brown and an instant-read thermometer in the center registers around 190°F. If tops brown too quickly, tent loosely with foil for the last 5 minutes. 6. Finish with garlic butter: While rolls rest briefly out of the oven, melt 2 tablespoons butter with 1 tablespoon minced garlic and 1 tablespoon chopped parsley in a small pan for 30 seconds until aromatic. Brush generously over warm rolls and finish with flaky sea salt. Serve warm for best texture.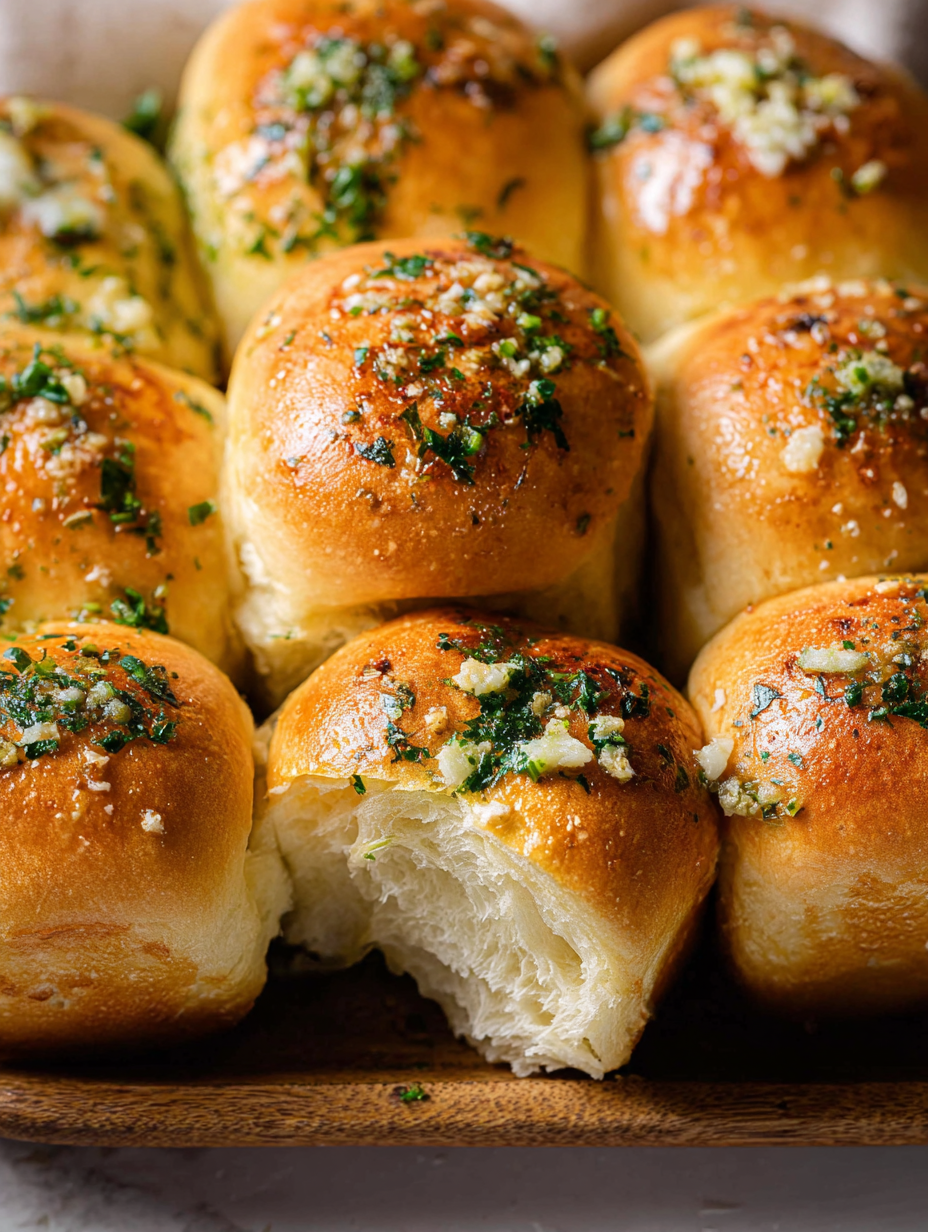
You Must Know
- These rolls freeze well for up to 3 months when wrapped tightly; thaw in the refrigerator overnight and reheat in a 325°F oven for 10 minutes.
- High in carbohydrates and moderate in fat; one roll provides about 210 kcal and makes a satisfying side portion with protein and vegetables.
- Store at room temperature in an airtight container for up to 2 days; refrigeration dries enriched breads quickly so avoid it unless already sliced and used in sandwiches.
- Use flaky sea salt at the end to add texture and a burst of saltiness that contrasts the soft crumb and buttery finish.
My favorite part of this method is how forgiving it is. I have over-proofed a pan, under-kneaded a batch, and still produced delicious rolls by adjusting bake time and finishing with the garlic butter. These have become my go-to for last-minute guests because they look impressive but are straightforward to execute.
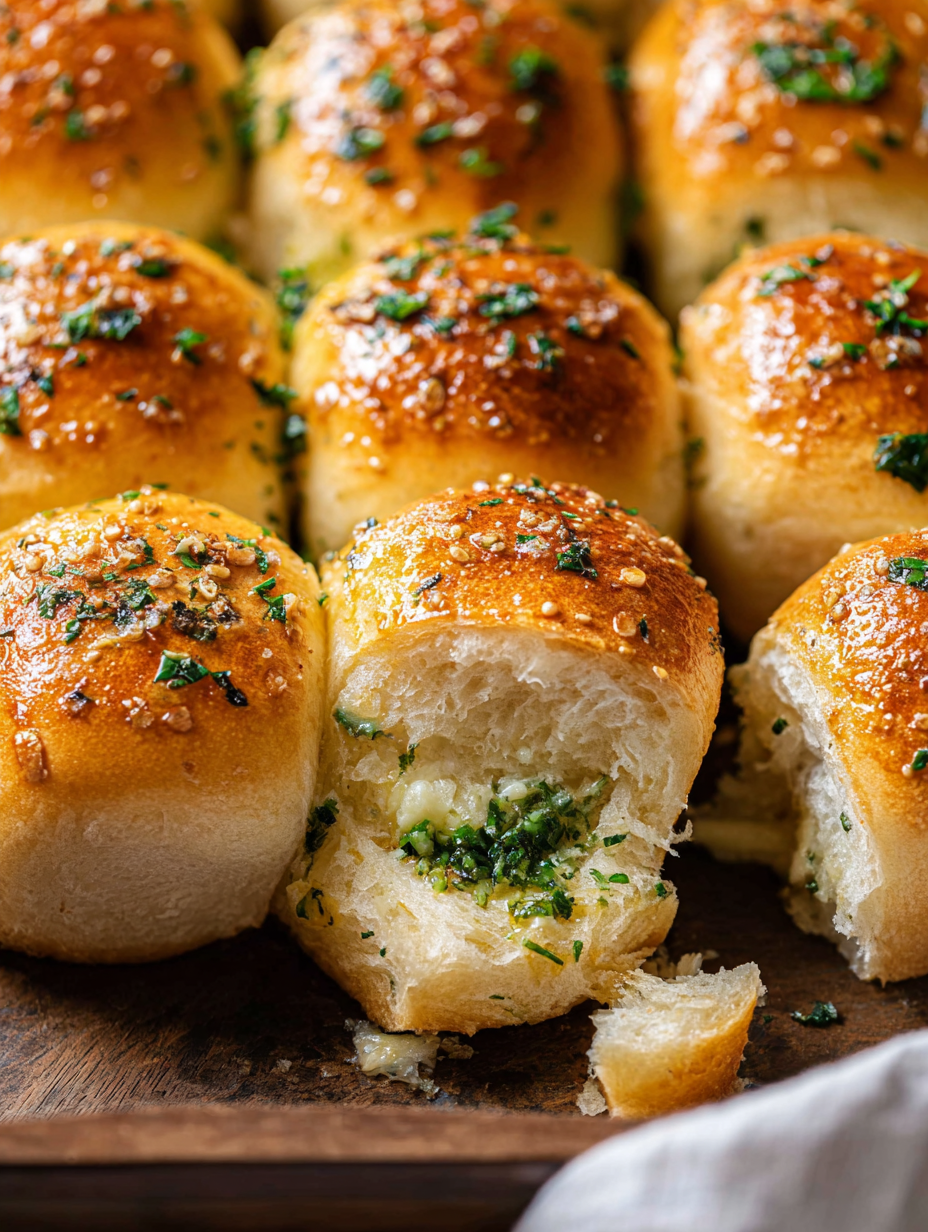
Storage Tips
To maintain softness, cool rolls completely before storing in an airtight container or resealable bag at room temperature for up to 48 hours. For longer storage, freeze individual rolls on a sheet pan until solid, then transfer to a freezer bag. When ready to use, reheat frozen rolls directly from frozen at 325°F for 10 to 15 minutes or thaw in the refrigerator overnight and warm at 300°F for 8 to 10 minutes. Avoid refrigeration unless necessary; chilled enriched breads become stale faster due to starch retrogradation.
Ingredient Substitutions
If you prefer a dairy-free version, substitute a plant-based milk warmed to 110°F and use a vegan butter for both dough and finishing. Swap whole milk for 2% without significant texture loss, though whole milk yields the richest crumb. For a lower-sodium option, reduce added salt to 1/2 teaspoon and omit the finishing flaky salt. If you want herb variation, replace parsley with chopped rosemary or thyme, but use sparingly because woody herbs can dominate the delicate crumb.
Serving Suggestions
Serve warm with bowl meals like tomato basil soup, minestrone, or alongside a simple pasta with marinara. For a party, present the rolls in a lined basket with a small dish of extra garlic butter or marinara for dipping. Garnish with extra chopped parsley or a grating of Parmesan for an upscale touch. These also make excellent slider buns for shredded chicken or meatballs; halve cooled rolls and toast briefly before filling.
Cultural Background
The idea of enriched, buttery rolls traces to European baking traditions where milk and eggs are added to create tender crumb and golden crusts. Garlic bread itself has Italian-American roots as a casual accompaniment to pasta dishes. These rolls fuse enriched roll technique with the beloved garlic-butter finish, creating a hybrid that feels both familiar and homey—a reflection of how immigrant and home-cooking traditions evolve in everyday kitchens.
Seasonal Adaptations
In summer, add fresh basil or oregano to the finishing butter for garden-fresh brightness. For autumn and winter, stir roasted garlic and a pinch of smoked paprika into the butter for warming depth. Holiday variations can include a shredded cheese sprinkle or using the rolls as the base for mini brioche-style dinner buns surrounded by roasted meats and gravies.
Meal Prep Tips
Prepare dough the night before and refrigerate after the first rise for a slow overnight proof. In the morning, shape the rolls, allow a shorter second rise, and bake for fresh warm rolls at breakfast or dinner. Alternatively, make and freeze shaped rolls before the second rise; thaw and allow full proofing before baking for convenient, freshly baked rolls on demand.
These garlic bread rolls are a small ritual you can share any night of the week. They bring people together, travel well to potlucks, and are forgiving enough for cooks of any skill level to master. Give them a try and make them your own.
Pro Tips
Measure flour by spooning and leveling to avoid a dense dough.
Warm milk to 110°F for consistent yeast activation; avoid hotter temperatures that can kill yeast.
Perform the windowpane test to check gluten development before the first rise.
If tops brown too quickly, tent with foil for the last 5 minutes of baking.
Freeze baked rolls individually before storing to prevent them from sticking together.
This nourishing soft garlic bread rolls recipe is sure to be a staple in your kitchen. Enjoy every moist, high protein slice — it is perfect for breakfast or as a wholesome snack any time.
Tags
Soft Garlic Bread Rolls
This Soft Garlic Bread Rolls recipe makes perfectly juicy, tender, and flavorful steak every time! Serve with potatoes and a side salad for an unforgettable dinner in under 30 minutes.
Ingredients
Dough
Garlic Butter (Finishing)
Instructions
Activate and combine
Warm 1 cup of milk to 110°F. In a large bowl or stand mixer, combine 3 1/2 cups plus 1 tablespoon flour, 2 1/4 teaspoons instant yeast, 1 tablespoon sugar, and 1 teaspoon salt. Add 4 1/2 tablespoons softened butter, 2 tablespoons minced garlic, 3 tablespoons chopped parsley, the warm milk, and 1 room-temperature egg. Mix on low until the dough comes together.
Knead for structure
Knead with a dough hook on medium for 6 to 8 minutes until smooth and slightly tacky, or knead by hand for 8 to 10 minutes. The dough should stretch thin without tearing for a successful windowpane test.
First rise
Place the dough ball in a lightly oiled bowl, cover, and let rise in a warm spot until doubled, about 60 to 75 minutes.
Shape the rolls
Punch down the dough and divide into 12 equal pieces. Shape into tight balls and place close together in a greased 9x13-inch pan to encourage soft sides. Cover and let rise until nearly doubled, 30 to 40 minutes.
Bake with egg wash
Preheat oven to 375°F. Brush risen rolls with beaten egg and bake 18 to 20 minutes until golden and 190°F internal. Tent with foil if the tops brown too quickly.
Finish with garlic butter
Melt 2 tablespoons butter with 1 tablespoon minced garlic and 1 tablespoon chopped parsley briefly. Brush over warm rolls and sprinkle with flaky sea salt before serving.
Last Step: Please leave a rating and comment letting us know how you liked this recipe! This helps our business to thrive and continue providing free, high-quality recipes for you.
Nutrition
Did You Make This?
Leave a comment & rating below or tag
@cozycookscorner on social media!
Categories:
You might also like...
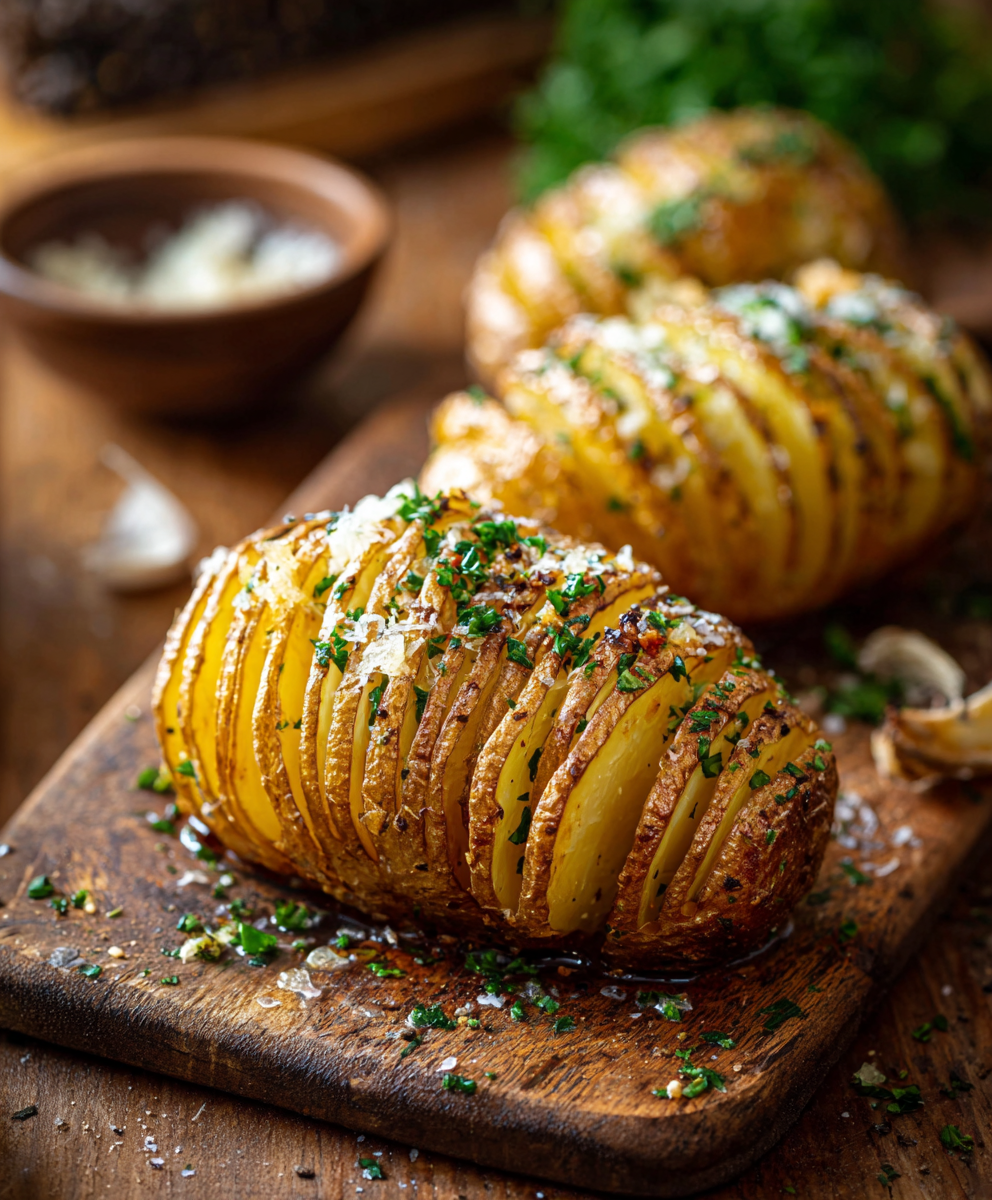
Crispy Hasselback Potatoes
Thinly sliced, buttery, and golden-brown Hasselback potatoes—an easy, show-stopping side that crisps on the outside and stays tender inside.
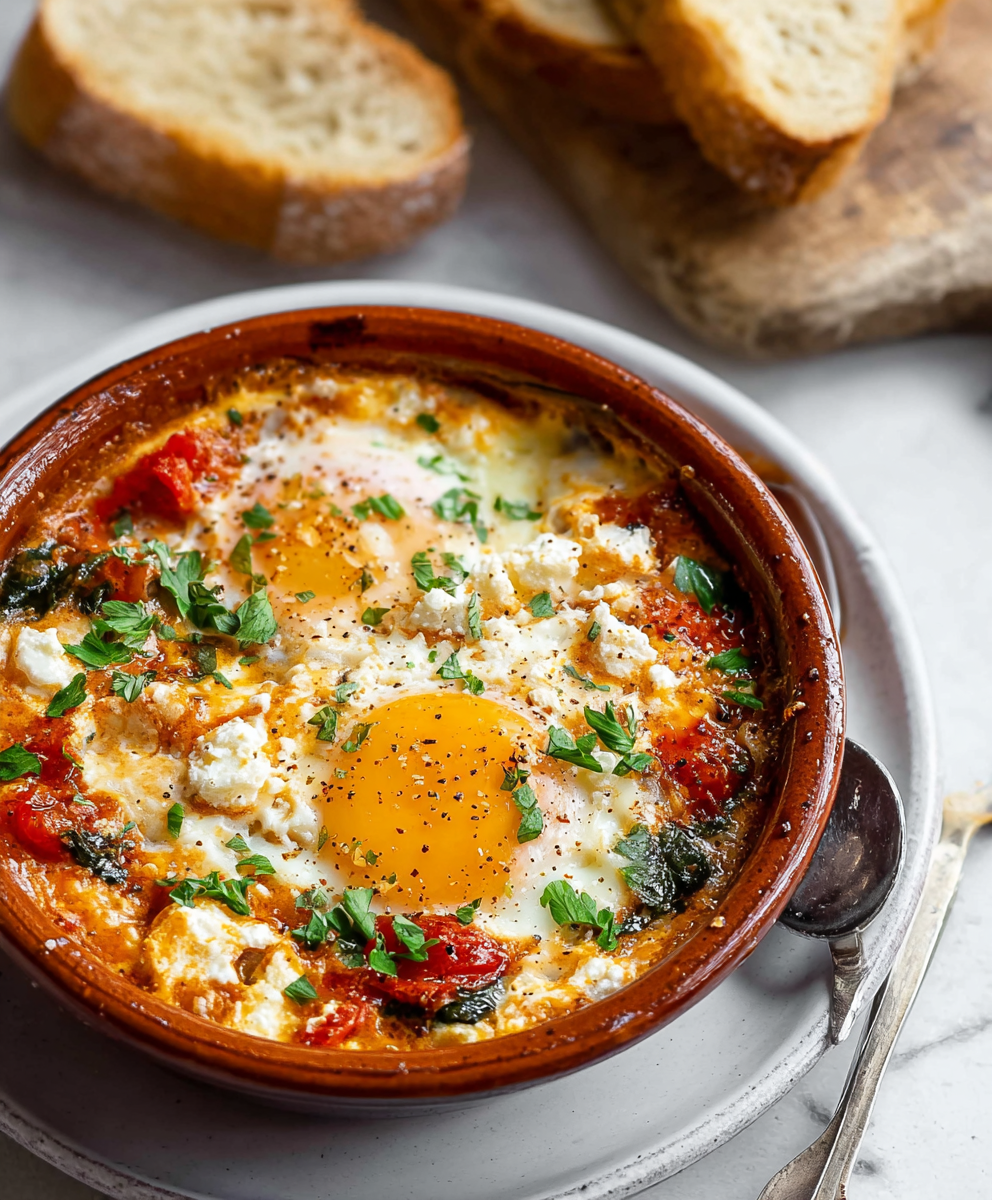
Baked Feta Eggs
A vibrant oven baked dish of roasted tomatoes, tender feta, wilted spinach and baked eggs. Bright, tangy and perfect for breakfast or brunch with crusty bread.
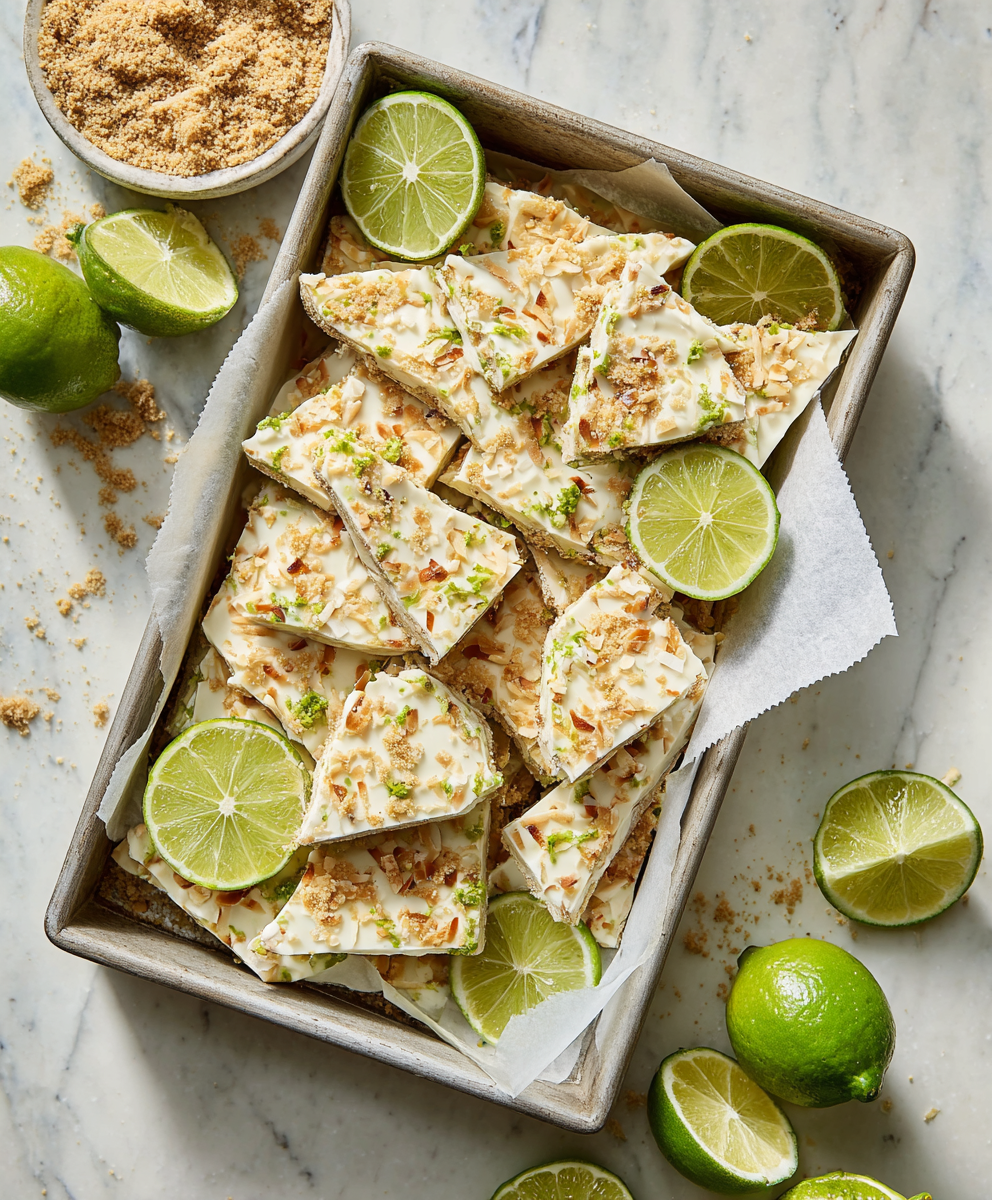
Key Lime Pie Yogurt Bark
A bright, protein-packed frozen treat that captures the tart-sweet charm of key lime pie in a simple yogurt bark — perfect for hot days, make-ahead snacks, and gluten-free diets.
Did You Make This?
Leave a comment & rating below or tag @cozycookscorner on social media!
Rate This Recipe
Share This Recipe
Enjoyed this recipe? Share it with friends and family, and don't forget to leave a review!
Comments (1)
This recipe looks amazing! Can't wait to try it.
Comments are stored locally in your browser. Server comments are displayed alongside your local comments.

Hi, I'm Lina!
What's Popular
30-Minute Meals!
Join to receive our email series which contains a round-up of some of our quick and easy family favorite recipes.