>>
30-MINUTE MEALS! Get the email series now →


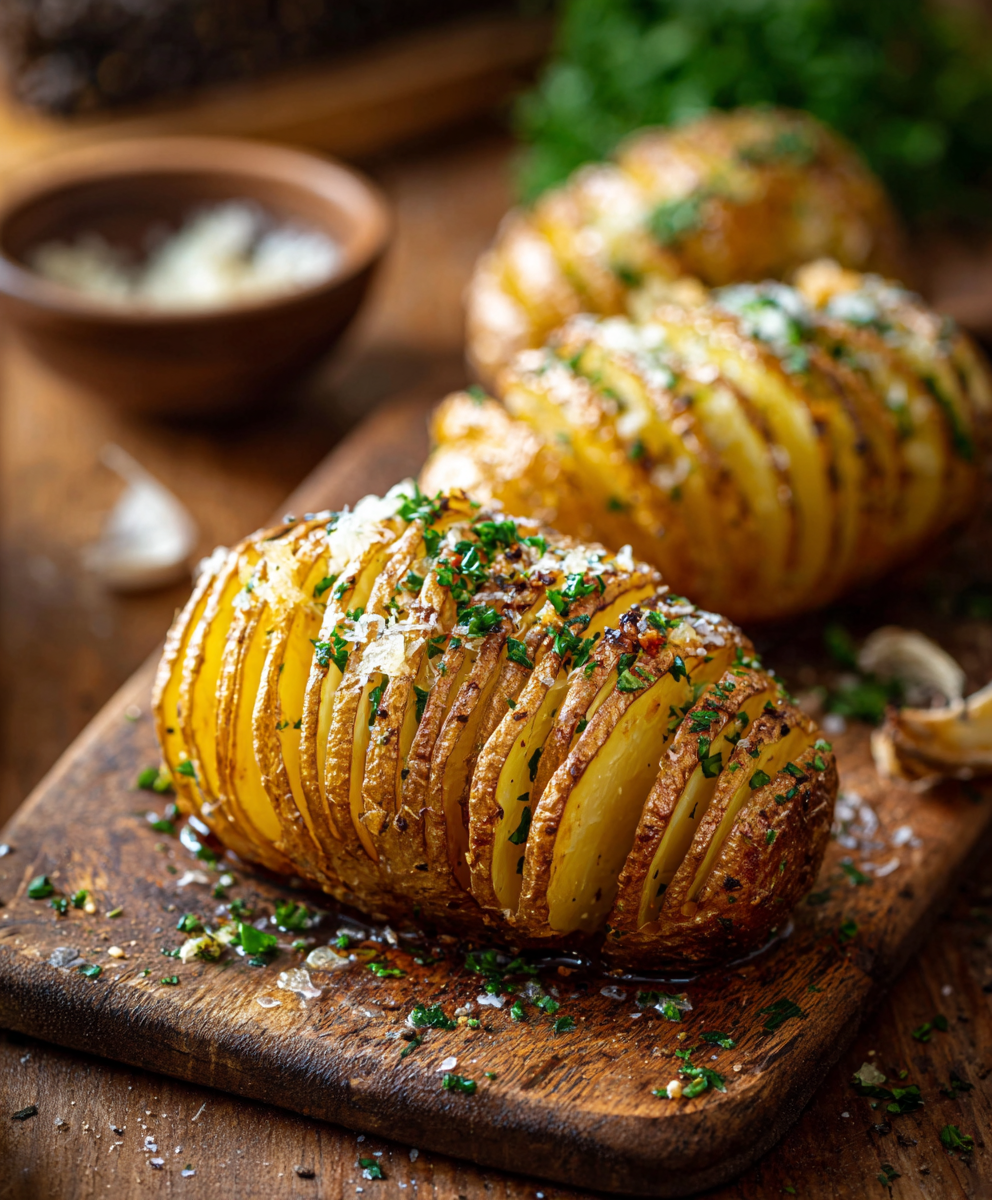
Thinly sliced, buttery, and golden-brown Hasselback potatoes—an easy, show-stopping side that crisps on the outside and stays tender inside.

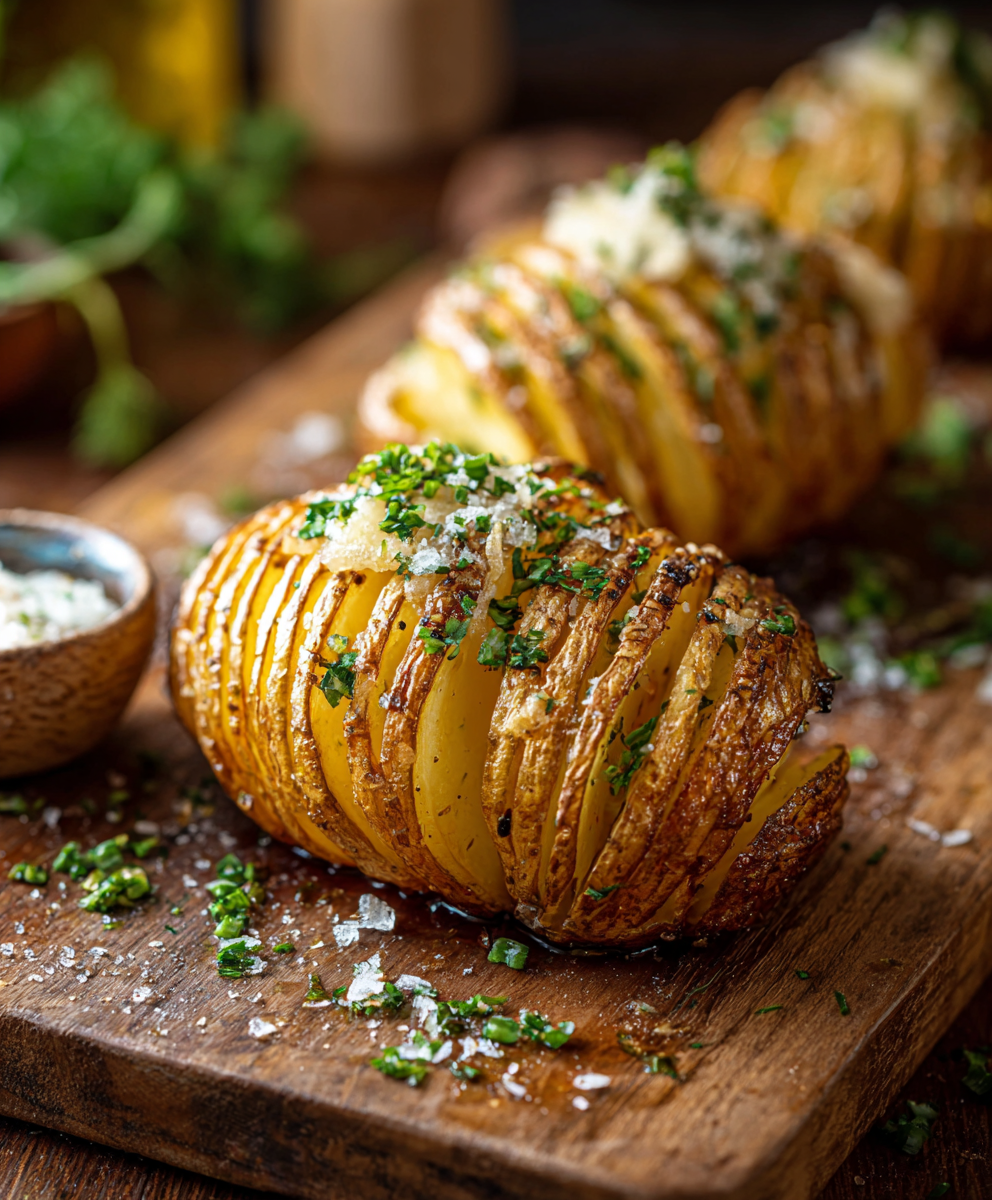
This version of Hasselback potatoes has been my go-to when I want something that feels special without a lot of fuss. I first tried this technique on a chilly weeknight when guests were arriving and I wanted a side that looked like effort, but actually comes together quickly. The thin, accordion-like slices let melted butter and seasonings reach more of the potato surface so every bite has a perfect contrast of crisp ridges and a fluffy interior. The smell of butter and roasted russets pulling apart in the oven is one of those small kitchen pleasures that always gets compliments.
What makes these stand out for me is the balance between technique and comfort: a simple trick with chopsticks to keep the bottom intact, a brush of melted unsalted butter, and the right bake time at 425°F. I remember the first time I served these at a family dinner—my aunt asked for the “method” three times so she could write it down. They’re versatile, delicious, and they pair beautifully with everything from roast chicken to a crisp green salad. When dinner needs a little lift, these are the potatoes I reach for.
I’ve made these dozens of times and have learned small things that matter: use two chopsticks to protect the base, brush with butter twice, and pull the slices apart gently halfway through the bake to get even browning. My family asks for them whenever we want a side that looks fancy but actually gives us more time at the table.
What I love most about this method is how forgiving it is: small differences in size simply change the bake time, and a second brush of butter midway ensures even browning. At holiday dinners, these disappear fast; at a casual weeknight, they make everyone pause and enjoy the meal a little longer.
To store leftovers, let the potatoes cool completely, then tightly wrap them in plastic wrap or place in an airtight container. Refrigerate for up to 3 days. For longer storage, freeze fully baked and cooled potatoes in a single layer on a tray until firm, then transfer to a freezer bag for up to 3 months. Reheat in a 375°F oven for 12–18 minutes to restore crispness; microwaving will warm the interior but soften the crisp ridges. Look for loss of crispness or off odors as signs of spoilage.
If you don’t have russets, Yukon Golds will work but the texture will be creamier and the edges may brown faster; reduce the final bake time slightly. Swap butter for olive oil for a dairy-free option—use about the same volume (4 tablespoons) but expect a different flavor and slightly less golden crisping. For a lower-fat version, use 2 tablespoons of butter or oil and mist the rest with a high-heat oil spray. Add minced garlic or herb butter during the final brush for more aromatics—about 1 clove garlic per potato mixed into the melted butter is a tasty ratio.
Serve these alongside roast chicken, grilled steak, or a fresh green salad. For a party, top with grated Parmesan and chopped parsley right after baking, or add a dollop of sour cream and chives for a loaded-style finish. They pair beautifully with pan-seared salmon or a hearty pot roast. For a brunch twist, crisp them, then top each with a poached egg and a sprinkle of smoked paprika.
The technique comes from Sweden, where thinly sliced potatoes baked with butter or oil became known as Hasselback after a Stockholm restaurant called Hasselbacken in the 1940s. Over the decades the method spread internationally and evolved—some versions include cream or breadcrumbs between slices, while others focus on crisping and simple seasonings. The fundamental idea is to increase surface area for browning while keeping the potato intact, a concept treasured in many roasting traditions.
In winter, enrich the butter with chopped rosemary or thyme and a pinch of smoked sea salt for a cozy flavor. Spring and summer call for lighter finishes: a squeeze of lemon and chopped parsley or a sprinkle of fresh dill brighten the dish. For autumnal dinners, fold in a little grated aged cheddar during the final 10 minutes of baking to create a gooey, savory topping that pairs well with roasted root vegetables.
For meal prep, partially bake the potatoes (first 30 minutes), cool them, and refrigerate for up to 24 hours. When ready to serve, pull the layers apart, brush with butter, and finish at 425°F for 20–30 minutes until crisp. This shortens active evening time significantly and keeps texture excellent. Use shallow, wide containers to avoid crowding which can steam the edges instead of crisping them.
These Hasselback potatoes are one of those satisfying dishes that feel both nostalgic and refined. Try them with different toppings and make them your own—once you master the slicing technique, you’ll find endless ways to enjoy their crispy, buttery charm.
Use two chopsticks or skewers as slice guides to prevent cutting all the way through; this keeps the potatoes intact while creating even slices.
Brush with melted butter twice—once before the first bake and again after separating the slices—to ensure deep golden crisping.
For even cooking choose potatoes of similar size and rotate the baking sheet halfway through the final bake if your oven has hot spots.
If making ahead, par-bake (first 30 minutes), cool, and refrigerate; finish in a hot oven just before serving to restore crispness.
This nourishing crispy hasselback potatoes recipe is sure to be a staple in your kitchen. Enjoy every moist, high protein slice — it is perfect for breakfast or as a wholesome snack any time.
This Crispy Hasselback Potatoes recipe makes perfectly juicy, tender, and flavorful steak every time! Serve with potatoes and a side salad for an unforgettable dinner in under 30 minutes.
Arrange a rack in the middle position and preheat the oven to 425°F. Select an unlined baking sheet for optimal browning.
Place one potato between two chopsticks or skewers and slice vertically about 1/8 inch apart until the knife hits the chopstick, leaving the base intact. Repeat for all potatoes.
Place the potatoes on the baking sheet and brush with half the melted butter, working some into the slits. Season with 1 teaspoon kosher salt and 1/2 teaspoon black pepper.
Bake the potatoes at 425°F for 30 minutes to cook through and begin browning the outer edges.
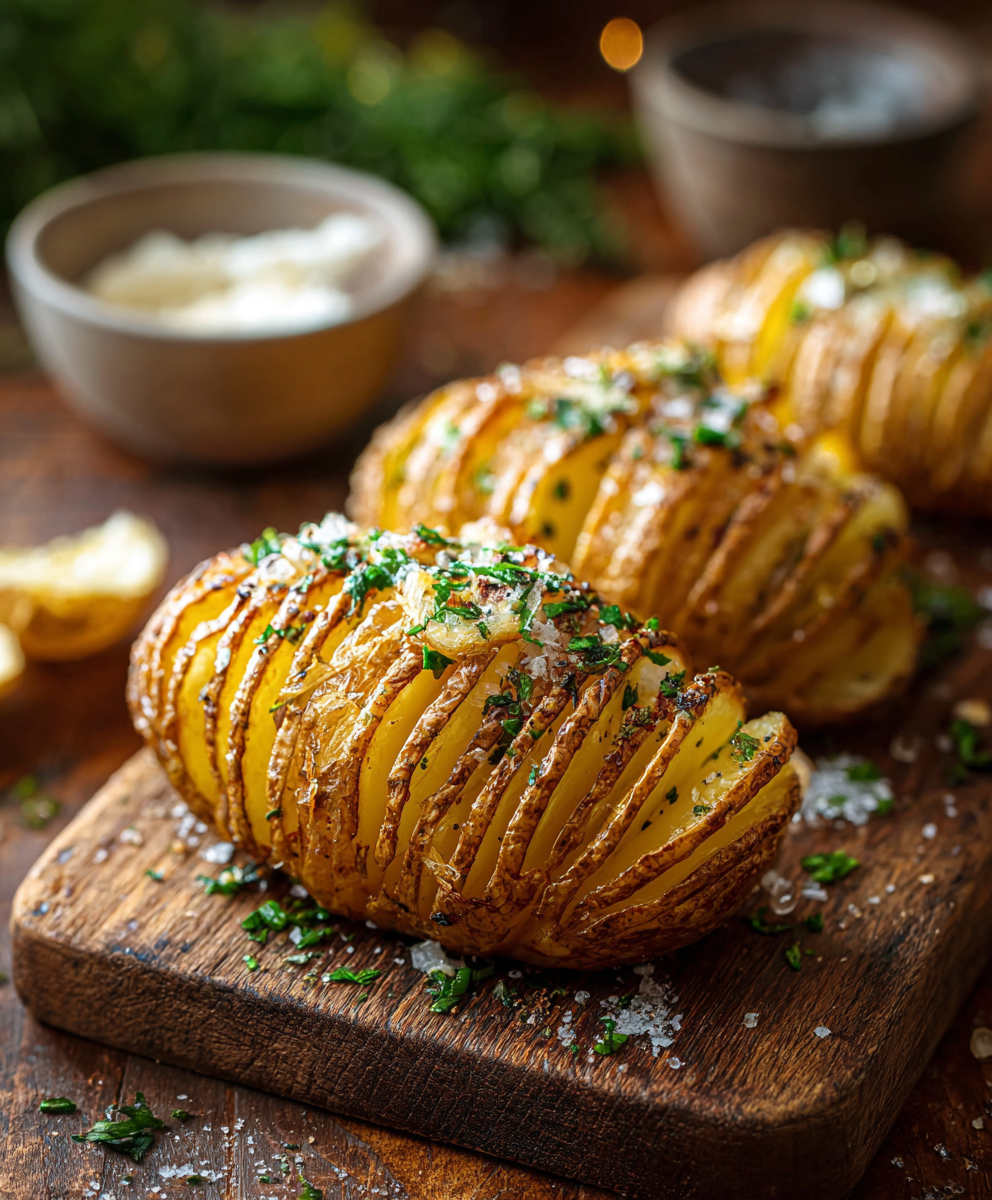
After 30 minutes, gently pull the layers apart with a knife or fork tines and brush on the remaining melted butter to expose more surface for crisping.
Return to the oven and bake 30–35 more minutes until the edges are golden and crispy and the center is tender. Serve warm with additional salt and pepper to taste.
Last Step: Please leave a rating and comment letting us know how you liked this recipe! This helps our business to thrive and continue providing free, high-quality recipes for you.
Leave a comment & rating below or tag
@cozycookscorner on social media!
Thinly sliced, buttery, and golden-brown Hasselback potatoes—an easy, show-stopping side that crisps on the outside and stays tender inside.
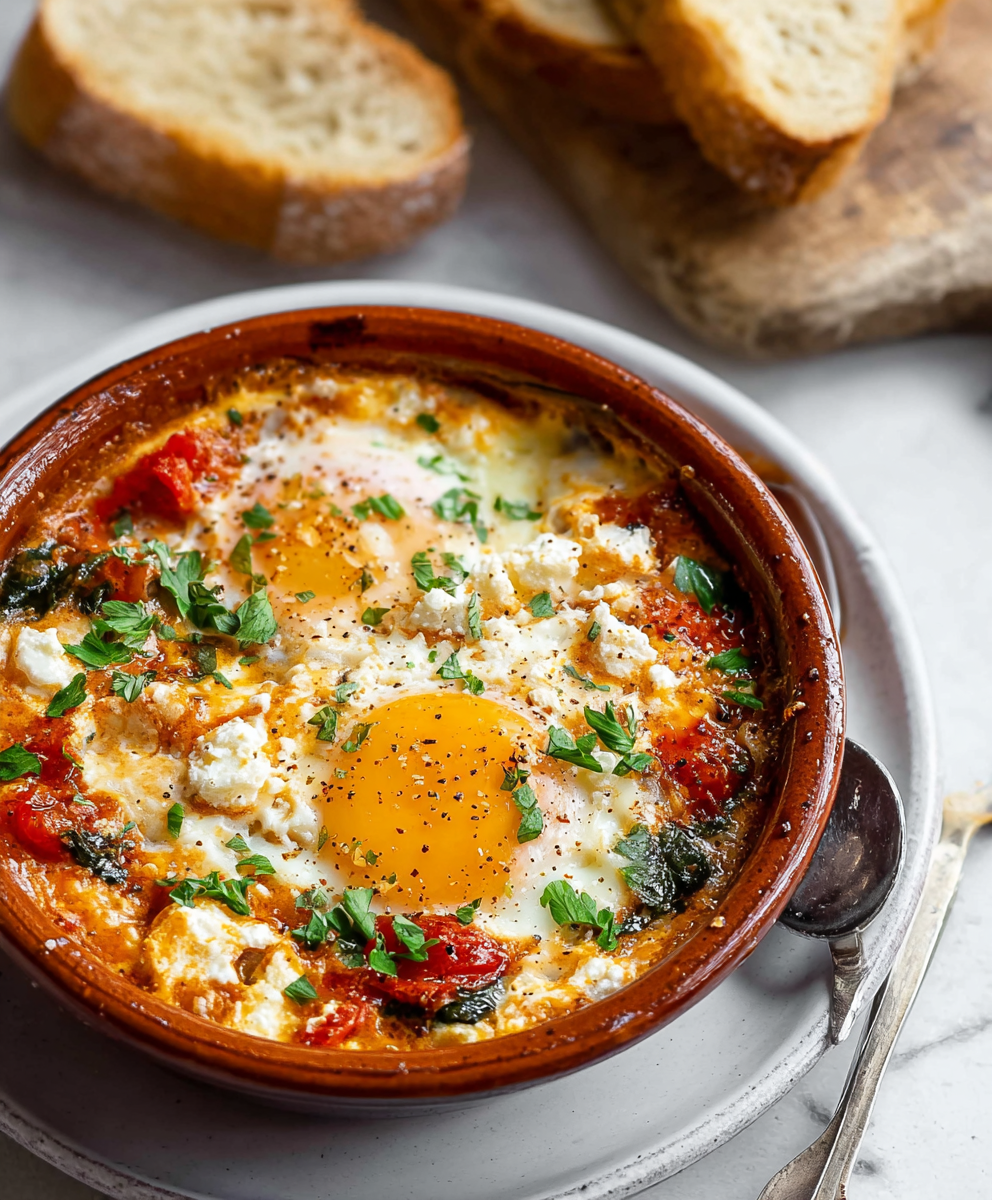
A vibrant oven baked dish of roasted tomatoes, tender feta, wilted spinach and baked eggs. Bright, tangy and perfect for breakfast or brunch with crusty bread.

A bright, protein-packed frozen treat that captures the tart-sweet charm of key lime pie in a simple yogurt bark — perfect for hot days, make-ahead snacks, and gluten-free diets.
Leave a comment & rating below or tag @cozycookscorner on social media!
Enjoyed this recipe? Share it with friends and family, and don't forget to leave a review!
This recipe looks amazing! Can't wait to try it.
Comments are stored locally in your browser. Server comments are displayed alongside your local comments.

Join to receive our email series which contains a round-up of some of our quick and easy family favorite recipes.