
Peppermint Swirl Cookies

Buttery sugar cookies with a festive peppermint swirl — crunchy on the outside, tender inside, and coated in sparkling sugar or crushed peppermint for extra holiday cheer.

This peppermint swirl cookie has been my favorite way to welcome the holidays into the kitchen for years. I discovered this particular method one December when I wanted something more elegant than a plain sugar cookie but still simple enough for after-school baking with my daughter. The dough yields a tender, slightly crisp edge with a soft, melt-in-your-mouth center, while the peppermint adds a clean, bright lift that keeps the cookies from feeling too sweet. Making the two-tone swirl became a ritual — one that always sparks a conversation at parties and brings back memories of loud carols, warm cocoa, and sticky countertops.
I love that this approach balances professional technique with home-friendly steps. The swirl effect looks like a bakery treat but is perfectly achievable with a rolling pin and a bit of patience. The red gel color stays vibrant without watering down flavors, and the coarse sugar or crushed peppermints on the exterior gives a festive crunch. These are my go-to for cookie exchanges; they travel well and look beautiful on a platter. Kids love helping press the spiral, and adults appreciate the crisp peppermint finish.
Why You'll Love This Recipe
- Produces bakery-style cookies with a tender center and crisp edge while using straightforward techniques suitable for an enthusiastic home baker.
- Ready in about 30 minutes of active time, plus an optional chilling period, so you can bake the same day or make dough ahead for convenience.
- Uses pantry staples—flour, butter, sugar—plus a little peppermint extract and red gel for dramatic color without altering texture.
- Make-ahead friendly: dough freezes well, so you can prepare in bulk for holidays or bake a few fresh trays when needed.
- Crowd-pleasing and visually striking for parties, cookie swaps, or gifting; the coating of coarse sugar or crushed peppermint candies adds festive sparkle and extra crunch.
- Flexible for dietary swaps (see substitutions) and easy to double for larger gatherings, keeping technique consistent across batches.
When I first brought these to a family gathering, my grandmother declared them the prettiest cookie on the table, and my eight-year-old still insists on placing a stray crushed candy on every cookie she packages for friends. Between the aroma of butter and peppermint and the ritual of rolling the two colors together, this recipe always turns simple baking into an occasion.
Ingredients
- All-purpose flour (2 1/2 cups): Use a reliable brand like King Arthur or Gold Medal for consistent results; spoon into the cup and level off to avoid dense dough. Flour provides structure for the swirl while keeping the texture tender when mixed gently.
- Baking powder (1 teaspoon): Gives a slight lift so cookies are not flat; ensure it's fresh for the best rise and even crumb.
- Salt (1/2 teaspoon): Balances the sweetness and enhances butter flavor; fine sea salt or kosher salt both work well.
- Unsalted butter (1 cup / 2 sticks), softened: Soft but not melty butter creams with sugar to create a light, airy base—choose a high-quality butter for flavor, such as Plugra or Kerrygold.
- Granulated sugar (1 cup): Adds sweetness and contributes to a slightly crisp exterior; for extra sparkle, reserve a little coarse sugar for coating.
- Large egg (1): Binds the dough and adds moisture; room temperature eggs incorporate more evenly.
- Vanilla extract (1 teaspoon): Rounds flavors and complements peppermint — use pure vanilla extract for depth.
- Peppermint extract (1 teaspoon): Provides the signature cool finish; peppermint oil is potent, so measure carefully to avoid overpowering the dough.
- Red gel food coloring: Gel preserves dough consistency while delivering an intense, bakery-red swirl; a little goes a long way.
- Coating (1/4 cup): Use coarse sugar or finely crushed peppermint candies for an iced, crunchy exterior — adjust amount depending on how heavily coated you prefer.
I find that measuring ingredients in American cup and spoon measures yields consistent results in home kitchens and keeps the procedure accessible. When shopping, opt for real extracts rather than imitation when possible and choose gel color for the brightest red without altering dough hydration.

Instructions
Prepare dry ingredients:Whisk together 2 1/2 cups all-purpose flour, 1 teaspoon baking powder, and 1/2 teaspoon salt in a medium bowl. Sifting is optional but helpful for a light texture. Set aside so the dry mix is ready when the creamed butter and sugar are complete.Cream butter and sugar:In a stand mixer fitted with the paddle (or with a large bowl and hand mixer), beat 1 cup softened unsalted butter and 1 cup granulated sugar on medium speed until pale and fluffy, about 3 to 4 minutes. Scrape the bowl halfway through to ensure even aeration — this step traps air and produces a tender bite.Add egg and extracts:Beat in 1 large room-temperature egg, 1 teaspoon vanilla extract, and 1 teaspoon peppermint extract until thoroughly combined. Mix just until incorporated to avoid developing too much gluten, which could make cookies tough.Divide and color dough:Turn the dough onto a clean work surface and divide into two equal portions. Add several drops of red gel food coloring to one portion and knead gently until the color is uniform. Use gloves or parchment to avoid staining hands. The second portion remains uncolored for the white spiral.Chill to firm up:Flatten each portion into a disk, wrap in plastic, and chill for at least 30 minutes. Chilling firms butter and makes the dough easier to roll and shape without sticking.Roll and assemble swirls:Roll both disks between sheets of parchment into 1/8- to 1/4-inch-thick rectangles of equal size. Stack the red sheet on top of the white, then roll tightly into a log along the long edge for a spiral. Wrap the log and chill 20 to 30 minutes to set the shape before slicing.Coat and bake:Preheat the oven to 350°F (175°C). Slice the chilled log into 1/4- to 3/8-inch-thick rounds, roll the edges in 1/4 cup coarse sugar or crushed peppermint, and place 1 inch apart on parchment-lined sheets. Bake for 9–12 minutes until edges are set and just beginning to color; centers should still be slightly soft. Let cool on the baking sheet 5 minutes, then transfer to a wire rack to cool completely.
You Must Know
- Cookies freeze well: unbaked logs can be wrapped and frozen up to 3 months. Thaw overnight in the refrigerator before slicing and baking.
- Chill is essential: a firmer log keeps clean spiral slices and prevents collapsing during baking.
- Coarse sugar or crushed peppermints both add crunch—crushed candy will soften slightly over time but adds peppermint intensity.
- Storage: keep cookies in an airtight container at room temperature up to 5 days; separate layers with parchment to maintain coating and color.
My favorite part of these cookies is the presentation — the spiral always draws compliments. I once brought a platter to a charity bake sale and watched several people choose these over frosted cupcakes. The peppermint remains bright without overpowering, and the combination of textures keeps each bite interesting. It's a simple recipe with big visual payoff, perfect for teaching children a neat shaping technique that looks far more complicated than it is.
Storage Tips
Store completely cooled cookies in an airtight container at room temperature for up to five days. If stacking, place a sheet of parchment between layers to protect the coating. For longer storage, freeze baked cookies in a sealed freezer-safe container for up to three months; thaw at room temperature before serving. Unbaked chilled logs freeze excellently — wrap tightly in plastic and foil, then slice from frozen and add 1–2 minutes to baking time for best results.
Ingredient Substitutions
For a dairy-free version, substitute vegan butter sticks measured 1:1; expect a slightly different mouthfeel but similar results. To make gluten-free, use a 1:1 gluten-free flour blend that contains xanthan gum — texture will be softer and may need a bit more chilling to hold shape. If peppermint extract is unavailable, use 1/2 teaspoon mint extract plus 1/2 teaspoon vanilla, or swap crushed candy canes for coating to boost peppermint flavor.
Serving Suggestions
Serve these with hot chocolate or peppermint mocha for a classic pairing. For holiday platters, arrange with gingerbread men and shortbread for contrast in shape and flavor. Garnish with a few whole crushed peppermint pieces or a light dusting of powdered sugar for presentation. They also make charming edible gifts in cellophane bags tied with ribbon.
Cultural Background
Candy-cane inspired cookies are a modern twist on traditional sugar cookies, merging European shortbread and American sugar cookie techniques with the iconic peppermint motif of holiday candy. The red-and-white spiral visually references classic confections, and the use of peppermint reflects seasonal flavors that gained popularity in the United States during the late 19th and 20th centuries as mass-produced peppermint candies became widely available.
Seasonal Adaptations
For winter holidays, stick to peppermint and red coloring. In other seasons, swap the peppermint for lemon or orange extract and color the dough accordingly for a citrus swirl. For Valentine’s Day, use pink gel and heart-shaped slices; for Fourth of July, alternate blue and white doughs and sprinkle with red, white, and blue sugar for a festive twist.
Meal Prep Tips
Make several logs at once and freeze them to bake fresh batches across the season. Slice frozen logs directly—add a minute or two to baking time. Portion cookies into individual gift bags right after baking and cooling for quick grab-and-go treats. Use an adjustable cookie slicer or a sharp serrated knife dipped in warm water for clean, even slices.
These peppermint spirals are a joyful baking tradition that rewards a little patience with beautiful results. Bake a batch, share them, and notice how a small swirl can brighten a holiday table.
Pro Tips
Chill dough between steps to keep clean spirals and prevent spreading during baking.
Use gel food coloring to avoid altering dough hydration and achieve vivid color.
Slice logs when well chilled or slightly frozen for neat rounds and consistent bake.
Wrap and freeze unbaked logs for up to 3 months; thaw overnight before slicing.
This nourishing peppermint swirl cookies recipe is sure to be a staple in your kitchen. Enjoy every moist, high protein slice — it is perfect for breakfast or as a wholesome snack any time.
Tags
Peppermint Swirl Cookies
This Peppermint Swirl Cookies recipe makes perfectly juicy, tender, and flavorful steak every time! Serve with potatoes and a side salad for an unforgettable dinner in under 30 minutes.
Ingredients
Cookie Dough
Coating
Instructions
Prepare dry ingredients
Whisk together 2 1/2 cups flour, 1 teaspoon baking powder, and 1/2 teaspoon salt. Set aside so the dry mix is ready when the creamed butter and sugar are complete.
Cream butter and sugar
Beat 1 cup softened butter and 1 cup granulated sugar on medium until pale and fluffy, about 3–4 minutes. Scrape the bowl halfway through for even aeration.
Add egg and flavors
Mix in 1 large egg, 1 teaspoon vanilla extract, and 1 teaspoon peppermint extract until combined. Avoid overmixing to keep cookies tender.
Divide and color dough
Divide dough into two equal portions. Add red gel food coloring to one portion and knead until uniform. Keep the other portion uncolored.
Chill dough
Flatten each portion into a disk, wrap, and chill at least 30 minutes so the dough is firm and easy to roll.
Roll and form spiral
Roll both disks between parchment into even rectangles, stack red on white, and roll along the long edge into a tight log. Chill 20–30 minutes before slicing.
Slice, coat, and bake
Preheat oven to 350°F. Slice the chilled log into 1/4–3/8-inch rounds, roll edges in coarse sugar or crushed peppermint, and bake 9–12 minutes until edges are set.
Last Step: Please leave a rating and comment letting us know how you liked this recipe! This helps our business to thrive and continue providing free, high-quality recipes for you.
Nutrition
Did You Make This?
Leave a comment & rating below or tag
@cozycookscorner on social media!
Categories:
You might also like...
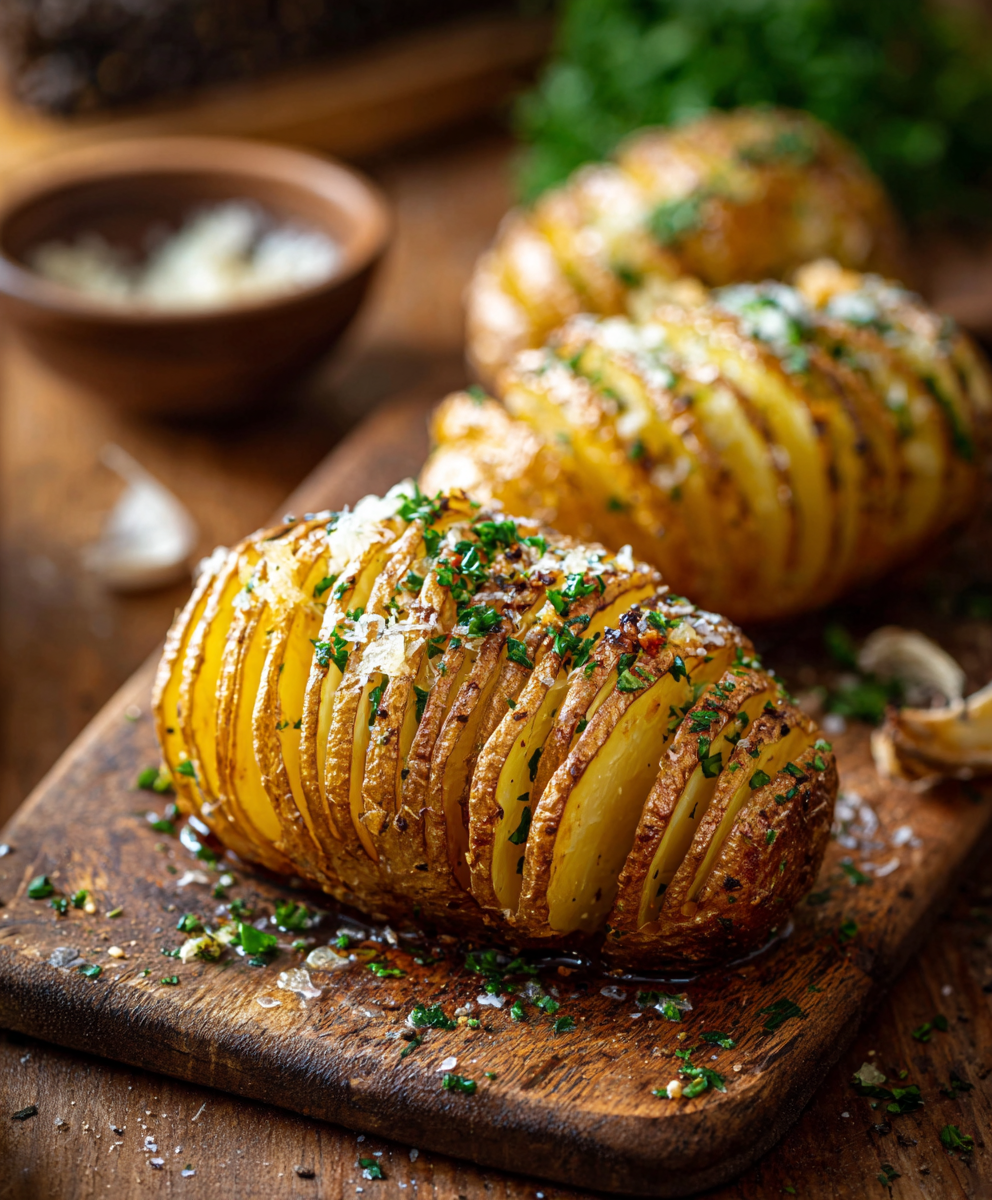
Crispy Hasselback Potatoes
Thinly sliced, buttery, and golden-brown Hasselback potatoes—an easy, show-stopping side that crisps on the outside and stays tender inside.
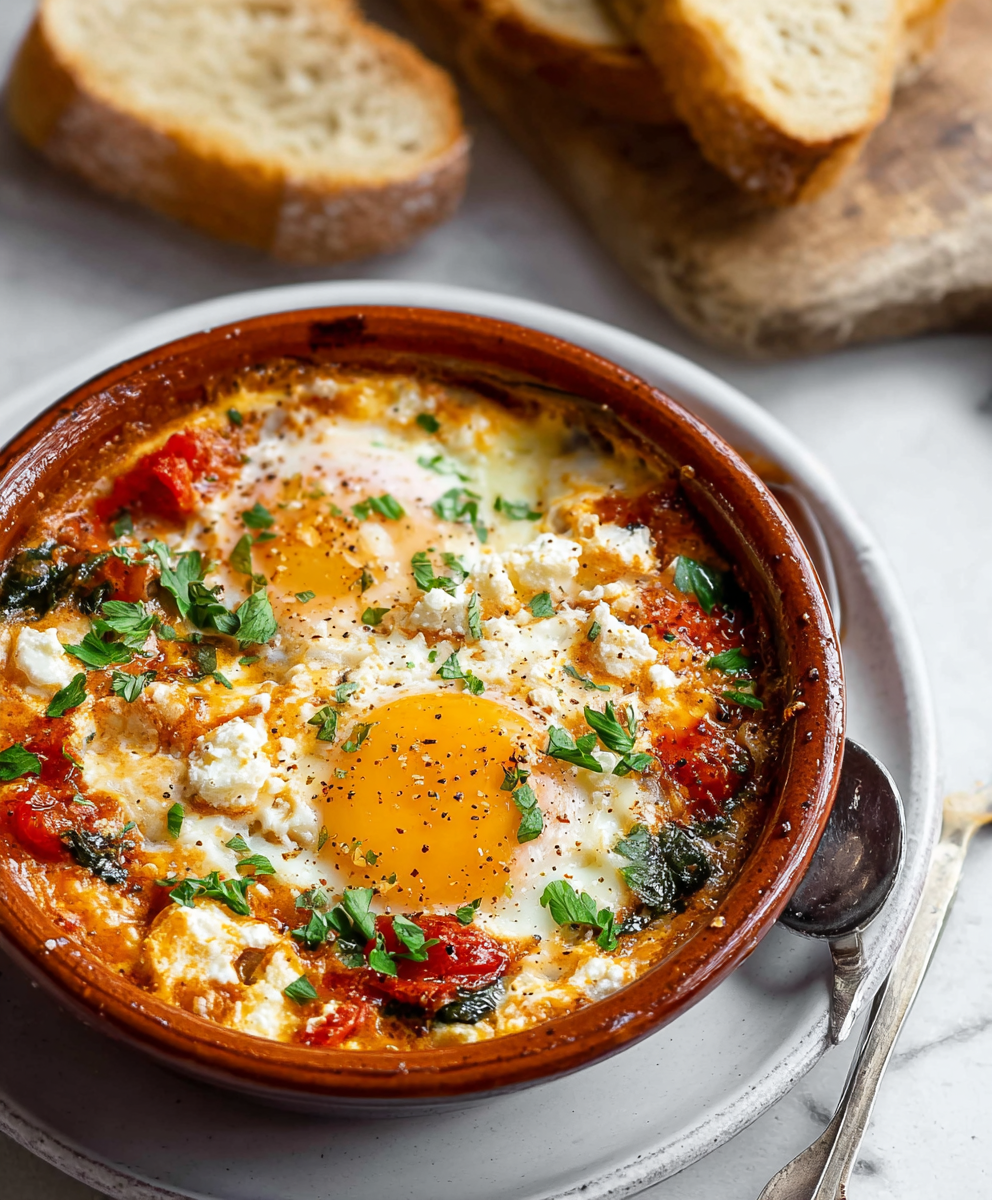
Baked Feta Eggs
A vibrant oven baked dish of roasted tomatoes, tender feta, wilted spinach and baked eggs. Bright, tangy and perfect for breakfast or brunch with crusty bread.
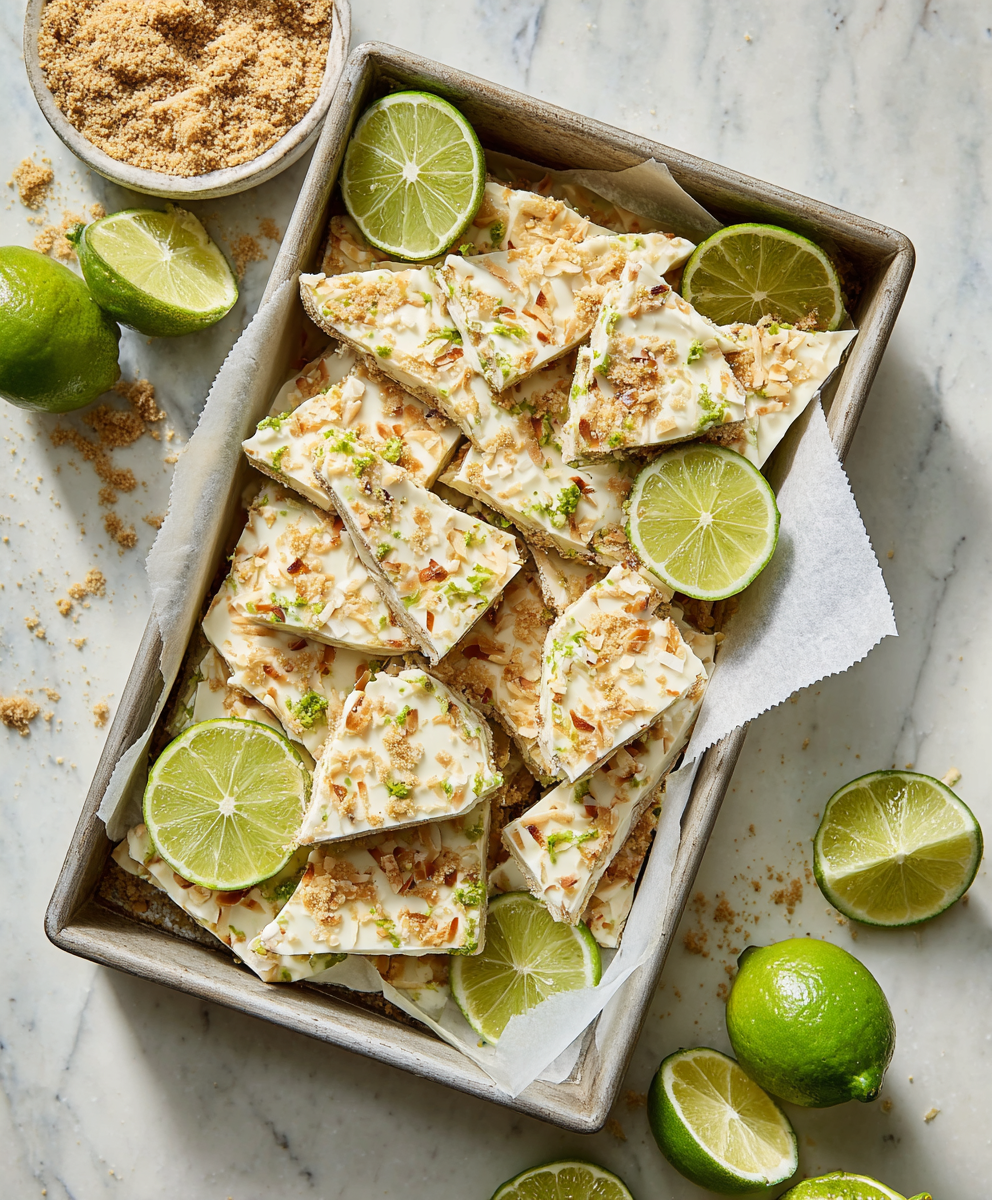
Key Lime Pie Yogurt Bark
A bright, protein-packed frozen treat that captures the tart-sweet charm of key lime pie in a simple yogurt bark — perfect for hot days, make-ahead snacks, and gluten-free diets.
Did You Make This?
Leave a comment & rating below or tag @cozycookscorner on social media!
Rate This Recipe
Share This Recipe
Enjoyed this recipe? Share it with friends and family, and don't forget to leave a review!
Comments (1)
This recipe looks amazing! Can't wait to try it.
Comments are stored locally in your browser. Server comments are displayed alongside your local comments.

Hi, I'm Lina!
What's Popular
30-Minute Meals!
Join to receive our email series which contains a round-up of some of our quick and easy family favorite recipes.