>>
30-MINUTE MEALS! Get the email series now →


A creamy, deeply caramelized Basque-style cheesecake baked in a loaf pan for an elegant, easy-to-slice centerpiece—perfect for gatherings and indulgent breakfasts.
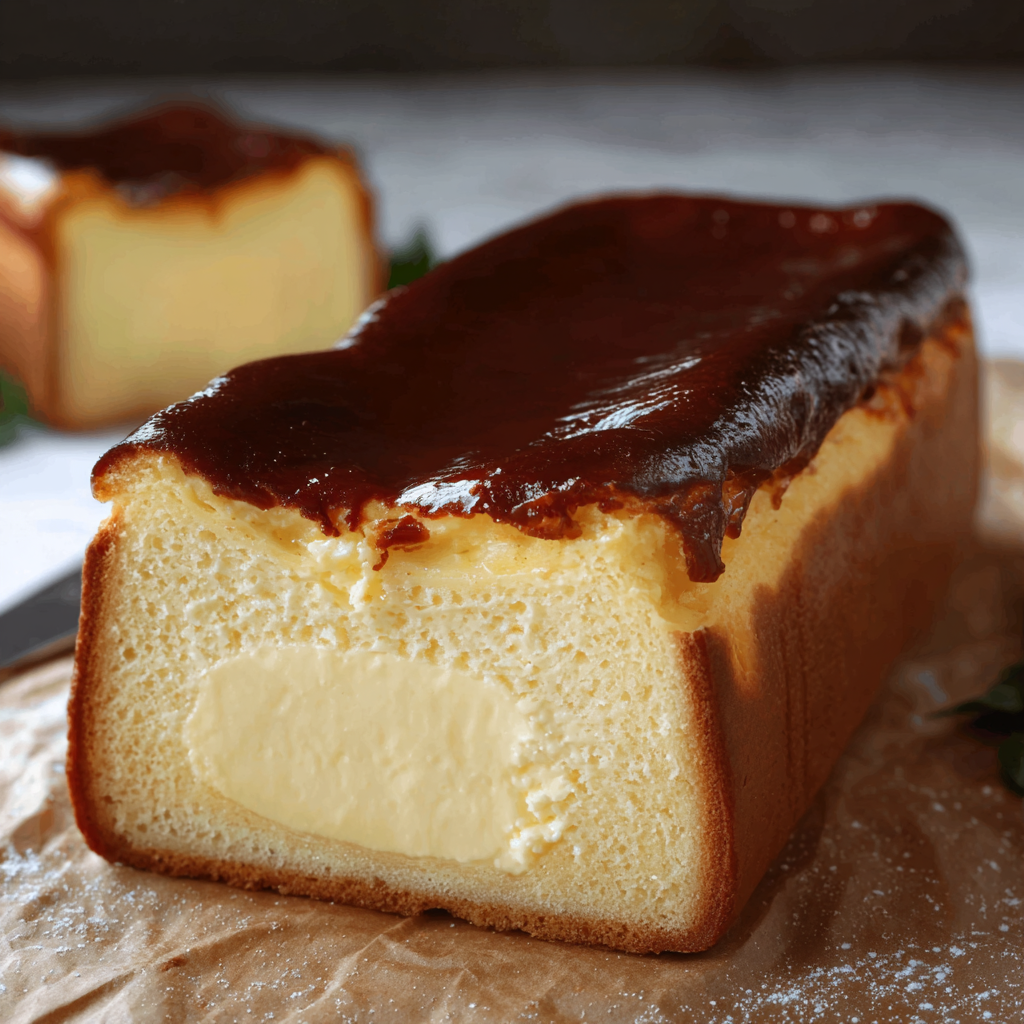
This burnt Basque cheesecake baked in a loaf pan has become my signature dessert for intimate dinners and holiday breakfasts alike. I first adapted the classic round-style recipe to a loaf pan one chilly December morning when I didn't have my usual springform on hand; the deep, custardy center and lusciously caramelized top were even better than I remembered, and the loaf shape made it effortless to slice and serve. The contrast between the almost burnt, bittersweet top and the rich, velvety interior is what keeps people coming back for a second slice.
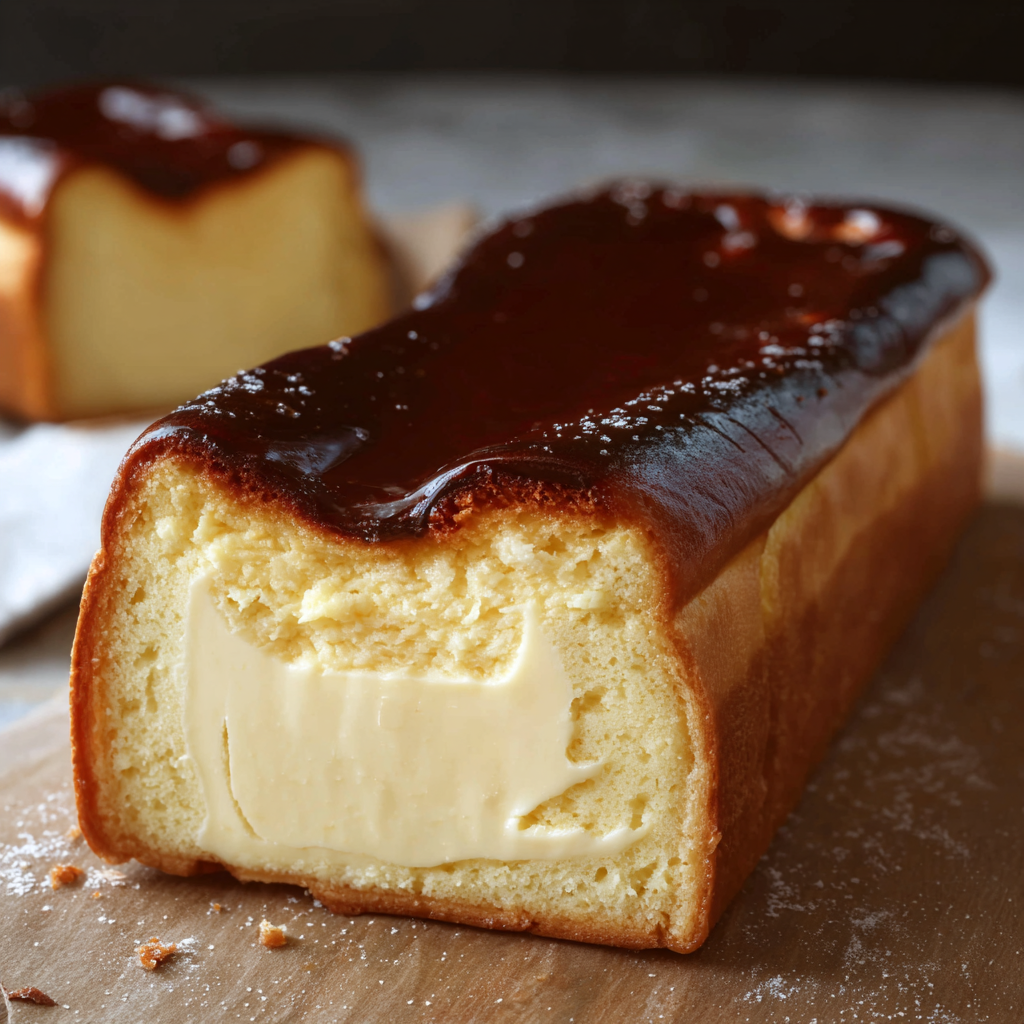
I love that this version bridges an elegant restaurant-style finish with home-kitchen simplicity. It relies on pantry staples—cream cheese, heavy cream, eggs, sugar—and a gentle, high-heat bake to develop the signature dark top while preserving a wobbly center. The loaf pan concentrates the bake so the edges are set and golden while the center remains irresistibly creamy. Serve warm with a spoonful of whipped cream and a scatter of fresh berries, or chilled and drizzled with caramel for an elegant finish.
When I brought this loaf to a family brunch, everyone asked for the recipe. The top charred to a beautiful mahogany and the first forkful yielded a decadent, spoonable center—my grandmother declared it the best cheesecake she’d had in years. It’s become a Cozy Cooks Corner favorite because it feels both indulgent and effortless.
My favorite aspect is the dramatic transformation during baking: a pale batter turns into a rustic, deeply browned loaf with a custardy heart. Family and guests are always surprised by the bold, bittersweet top that contrasts perfectly with the mellow interior. Slicing into it reveals a creamy ribbon of custard—every time I make it, someone asks for seconds.
Store the cooled and covered loaf in the refrigerator for up to 4 days. Use an airtight container or wrap the loaf tightly in plastic wrap and a layer of foil to prevent it from absorbing other fridge odors. For longer storage, slice the loaf into individual portions, wrap each tightly in plastic wrap, then place in a freezer-safe bag for up to 3 months. To thaw, move a wrapped slice to the refrigerator overnight. Reheat gently in a low oven (300°F for 6–8 minutes) if you prefer it slightly warm; avoid microwaving as it can make the texture rubbery.
If you need a gluten-free version, replace the all-purpose flour with a trusted 1:1 gluten-free measure-for-measure blend—this preserves structure without changing flavor. For a lighter finish, substitute half-and-half for the heavy cream, but expect a slightly less rich mouthfeel. To make the recipe kosher-dairy or suitable for vegetarians, standard ingredients are already vegetarian-friendly; vegan and dairy-free adaptations are more involved—use a high-fat plant-based cream and a vegan cream cheese alternative, though texture will be different. Reduce sugar by 1–2 tablespoons if you prefer less sweetness; the caramelized top will still provide depth.
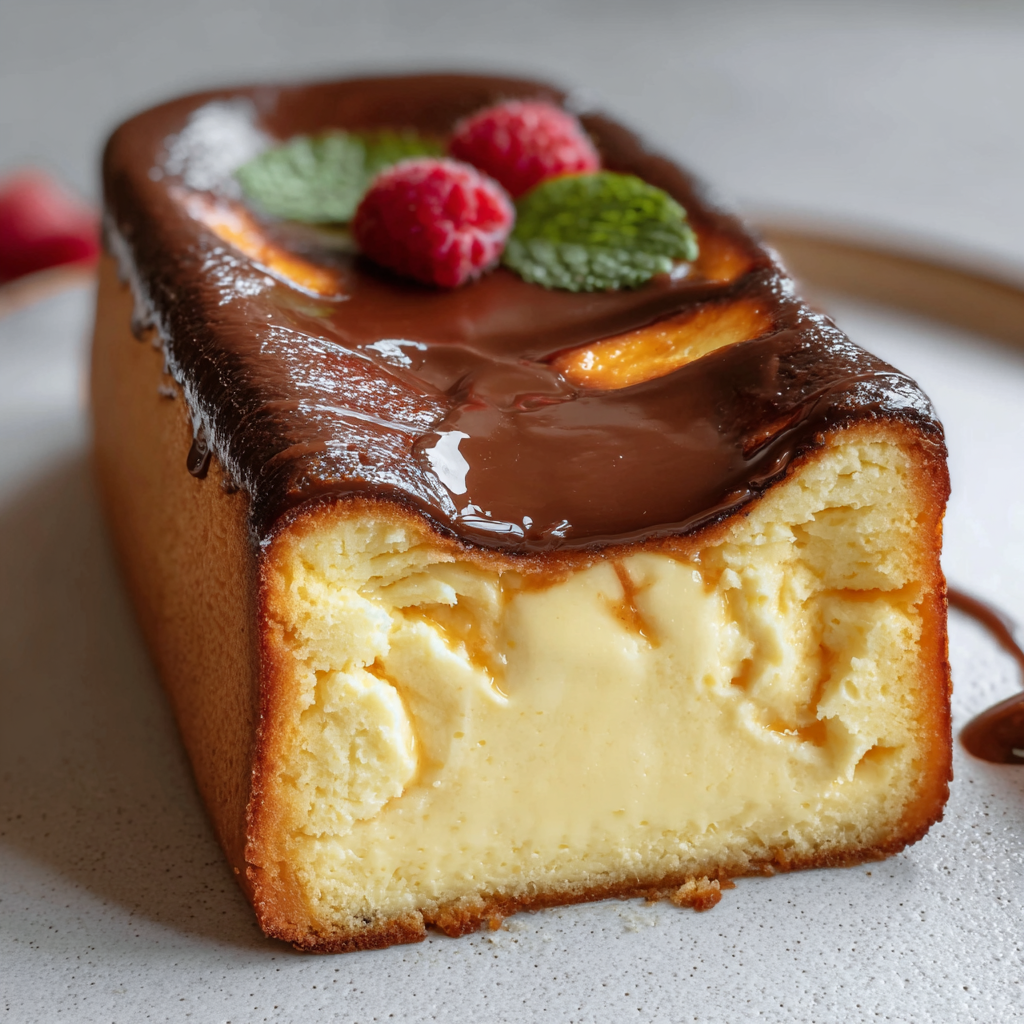
Serve slices with a dollop of softly whipped cream and a scattering of fresh berries for brightness. For a decadent finish, drizzle warm caramel sauce across each slice just before serving. The loaf shape lends itself to plated desserts or casual brunch—pair with robust coffee or a glass of tawny port for an evening finish. Garnish with flaky sea salt for contrast, or a few toasted almond slivers for crunch. For a breakfast twist, top a slice with a spoonful of Greek yogurt and honey.
The Basque burnt cheesecake originated in San Sebastián, Spain, as a crustless, high-heat-baked dessert with a deeply browned top and creamy center. This loaf adaptation preserves the spirit of the original while offering easy slicing and serving. The caramelized surface is a modern reinterpretation of the traditional method—chefs in Basque country embraced the “burnt” exterior for its bittersweet counterpoint to the rich interior. The loaf pan version is an example of how classic techniques can be adapted to home kitchens and different presentations without losing the essence of the dish.
In summer, top the loaf with macerated stone fruit—peaches or plums tossed with a little sugar and lemon—and serve with lightly whipped cream. In winter, warm a pear compote or spiced cranberry drizzle to contrast the creamy center. For holidays, fold in a tablespoon of orange zest and a pinch of cinnamon to the batter for a festive aroma. The loaf format makes it easy to scale up or down for seasonal gatherings—double the recipe and bake in two loaf pans for larger crowds.
Make the batter the night before and keep it chilled in the refrigerator; give it a gentle whisk before pouring and baking the next day. Alternatively, bake the loaf ahead and chill overnight—flavors meld and texture firms for cleaner slices. For portable meals or gifting, pre-slice and store in single-serve containers; guests will appreciate a ready-to-eat indulgence. Use parchment with high sides so you can lift the entire loaf out for easy slicing and presentation.
This loaf-style burnt Basque cheesecake is a versatile, crowd-pleasing centerpiece that feels luxe without fuss. Whether you serve it warm or chilled, with berries or caramel, it brings a touch of cozy elegance to any table—give it a try and make it your own.
Use room-temperature cream cheese and eggs to achieve a lump-free batter.
Line the loaf pan with parchment that extends above the rim to contain the batter and create rustic edges.
Bake at high heat (400°F) to get that signature deeply browned top while keeping the center creamy.
Strain the batter through a fine-mesh sieve for an ultra-smooth finish if desired.
Chill the baked loaf at least 4 hours for neat slices; baking the day before enhances flavor.
This nourishing luxury burnt basque cheesecake in a loaf pan recipe is sure to be a staple in your kitchen. Enjoy every moist, high protein slice — it is perfect for breakfast or as a wholesome snack any time.
Yes. Chill the cheesecake for at least 4 hours, preferably overnight, before slicing for the cleanest slices.
Yes—wrap slices tightly and freeze for up to 3 months. Thaw overnight in the refrigerator.
This Luxury Burnt Basque Cheesecake in a Loaf Pan recipe makes perfectly juicy, tender, and flavorful steak every time! Serve with potatoes and a side salad for an unforgettable dinner in under 30 minutes.
Preheat oven to 400°F. Line a 9x5-inch loaf pan with parchment paper, allowing the paper to rise above the rim to hold batter and develop a rustic top.
Beat room-temperature cream cheese until smooth, then add sugar and beat until glossy and lump-free, scraping the bowl as needed.
With mixer on low, add eggs one at a time, ensuring each is incorporated before adding the next to avoid curdling.
Sift in flour and add salt, then pour in heavy cream. Mix on low until the batter is homogeneous and silky but not aerated.
Optional: press batter through a fine-mesh sieve into the loaf pan to remove lumps. Bake at 400°F for 45–55 minutes until the top is deeply browned and the center jiggles slightly.
Cool on a rack to room temperature, then refrigerate uncovered for at least 4 hours or overnight to set the texture before slicing.
Last Step: Please leave a rating and comment letting us know how you liked this recipe! This helps our business to thrive and continue providing free, high-quality recipes for you.
Leave a comment & rating below or tag
@cozycookscorner on social media!
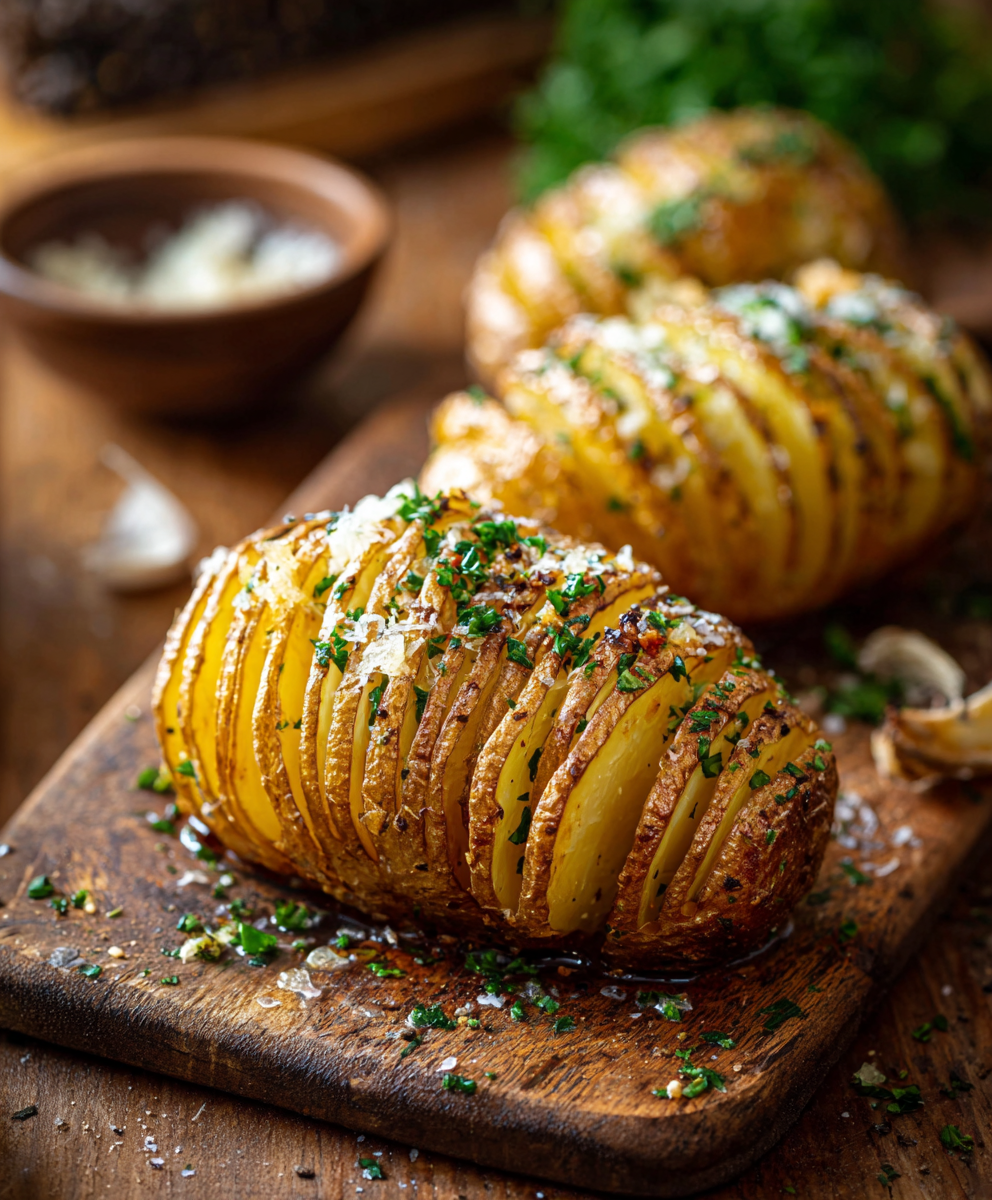
Thinly sliced, buttery, and golden-brown Hasselback potatoes—an easy, show-stopping side that crisps on the outside and stays tender inside.

A vibrant oven baked dish of roasted tomatoes, tender feta, wilted spinach and baked eggs. Bright, tangy and perfect for breakfast or brunch with crusty bread.
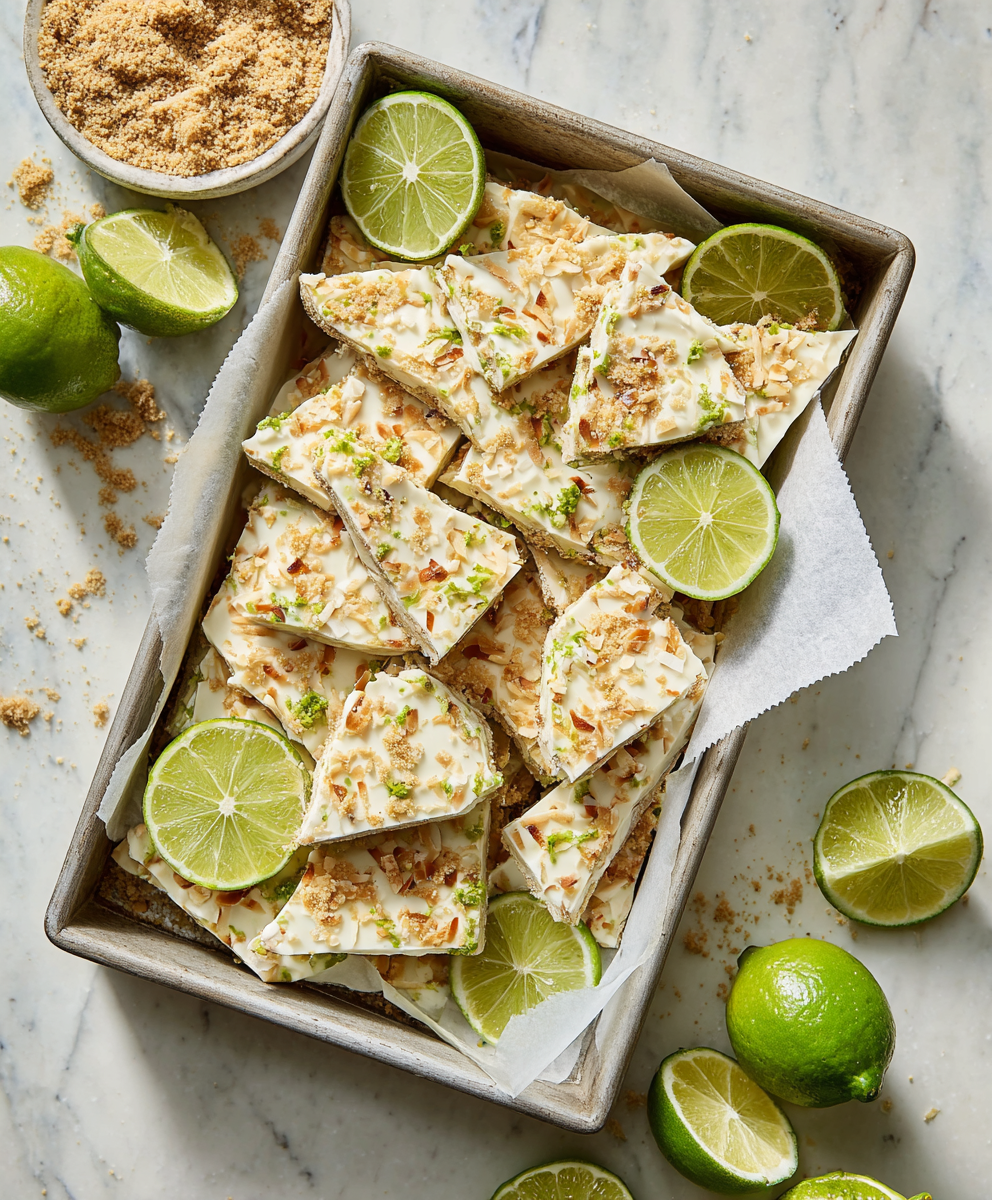
A bright, protein-packed frozen treat that captures the tart-sweet charm of key lime pie in a simple yogurt bark — perfect for hot days, make-ahead snacks, and gluten-free diets.
Leave a comment & rating below or tag @cozycookscorner on social media!
Enjoyed this recipe? Share it with friends and family, and don't forget to leave a review!
This recipe looks amazing! Can't wait to try it.
Comments are stored locally in your browser. Server comments are displayed alongside your local comments.

Join to receive our email series which contains a round-up of some of our quick and easy family favorite recipes.