>>
30-MINUTE MEALS! Get the email series now →

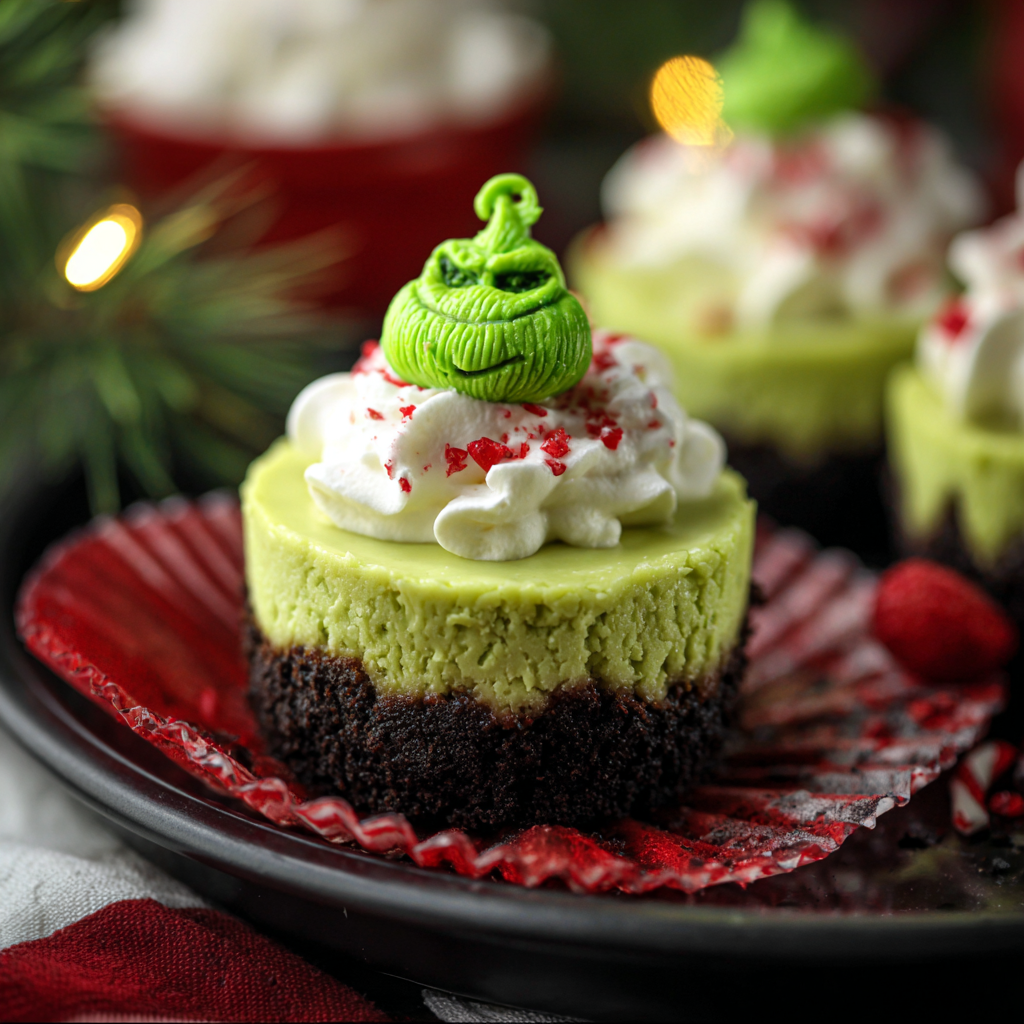
Bright neon green mini cheesecakes with an Oreo crust that are playful, simple to make, and perfect for holiday parties or kid friendly treats.

This Grinch Mini Cheesecake has become my go to holiday showstopper and a tiny bit of mischief on a dessert table. I first made these during a snowy December when I wanted something whimsical to balance a rich holiday dinner. The striking neon green color always makes everyone laugh and the single bite size is perfect for sampling more than one. I discovered that a small amount of gel food coloring delivers an intense Grinch green without changing the texture of the filling.
The texture is what keeps me coming back. The Oreo crumb base offers crunch and chocolate notes that contrast the velvety cream cheese center which sets firm when chilled but stays luxuriously creamy in the middle. These are quick enough for a last minute gathering yet charming enough to bring to a cookie exchange. My kids love helping press the crust into liners and they never miss a chance to spoon extra filling from the bowl.
I still remember the first party where I brought these and how quickly they vanished. Family members were skeptical at first then delighted by the flavor pairing. They became a staple at all holiday celebrations and I enjoy how a tiny detail like a green filling can change the mood of a table.

One of my favorite parts of these is the reaction when someone bites into a bright green center and discovers familiar cream cheese flavor beneath. It is a playful surprise that makes gatherings feel joyful and light hearted. Kids especially love decorating with whipped cream and sprinkles and grown ups appreciate the balance of chocolate crust and tangy filling.
Store cooled pieces in a single layer in an airtight container to prevent condensation from making the crust soggy. Refrigerate for up to four days. For freezing wrap each piece tightly in plastic wrap then place in a freezer safe container or bag for up to three months. Thaw in the refrigerator overnight and remove the wrap before serving to avoid moisture build up. If you need to transport them for a party arrange them in a shallow box with parchment to keep them steady and cool.
For a gluten free option use gluten free sandwich cookies in place of Oreos and check the label on the food coloring to ensure it is gluten free. To reduce fat swap one package of cream cheese for a lower fat alternative but expect a slightly less creamy mouthfeel. For a different crust use graham cracker crumbs or crushed shortbread. If you do not have gel color use liquid food coloring but use slightly more and be mindful the extra liquid may soften the filling a little.
Serve chilled with a small dollop of whipped cream and festive sprinkles to emphasize the Grinch theme. They pair wonderfully with hot cocoa mulled cider or a simple coffee. For an adult twist add a tiny spoon of orange liqueur to the filling to complement the chocolate base. Present them on a decorative platter with small toothpicks for easy serving at parties.
Miniature cheesecakes are a modern adaptation of classic cheesecake that make dessert more approachable and portable. The concept of single serve cheesecakes gained popularity in bakery culture where portion control and presentation matter. Combining popular sandwich cookies with a tangy cream cheese filling borrows from American comfort food traditions and playful novelty desserts often seen at holiday markets and bake sales.
These can be adapted for other seasons by changing the color and toppings. For fall swap the neon green for pumpkin spice coloring and top with lightly toasted pepitas. For spring use pastel colors and edible flowers for a garden party. In winter add a peppermint swirl or top with crushed candy canes for a festive crunch.
Prepare the crust and filling a day ahead and assemble in liners then refrigerate overnight. This reduces day of work to decoration alone. Keep a small cooler with ice packs if traveling to an event to preserve the texture. When making multiple batches work at a steady pace making crust first then cleaning the processor before making filling keeps the process efficient.
These little cheesecakes bring color laughter and comfortable flavors to any table I hope you enjoy making them as much as I do and share the fun with friends and family.
Bring cream cheese and eggs to room temperature before mixing to avoid lumps and ensure a silky filling.
Use gel food coloring for stronger color with less liquid which preserves the filling texture.
Press the crust firmly into liners so it does not crumble when serving and let the pan cool before refrigeration to avoid steam.
This nourishing grinch mini cheesecake recipe is sure to be a staple in your kitchen. Enjoy every moist, high protein slice — it is perfect for breakfast or as a wholesome snack any time.
Yes chill for at least two hours for firm slices overnight is best.
Yes you can freeze them wrapped individually for up to three months then thaw in the refrigerator.
This Grinch Mini Cheesecake recipe makes perfectly juicy, tender, and flavorful steak every time! Serve with potatoes and a side salad for an unforgettable dinner in under 30 minutes.
Preheat oven to 350 degrees Fahrenheit and line a 12 cup muffin pan with paper liners allowing cream cheese to soften while heating.
Pulse about 10 to 11 sandwich cookies in a food processor until you have one cup of fine crumbs then pulse in 2 and a half tablespoons melted butter until mixture holds together.
Divide crumbs evenly among liners and press firmly into an even layer using the bottom of a spoon or small cup to compact the base.
Beat 16 ounces softened cream cheese with half a cup sugar until smooth add eggs one at a time then vanilla mixing until just combined to avoid over aeration.
Stir in neon green food coloring to desired shade then spoon about one quarter cup of filling into each crust for even distribution.
Bake 15 to 17 minutes until edges set and centers jiggle slightly then cool completely in the pan before refrigerating at least two hours until firm.
Last Step: Please leave a rating and comment letting us know how you liked this recipe! This helps our business to thrive and continue providing free, high-quality recipes for you.
Leave a comment & rating below or tag
@cozycookscorner on social media!
Thinly sliced, buttery, and golden-brown Hasselback potatoes—an easy, show-stopping side that crisps on the outside and stays tender inside.
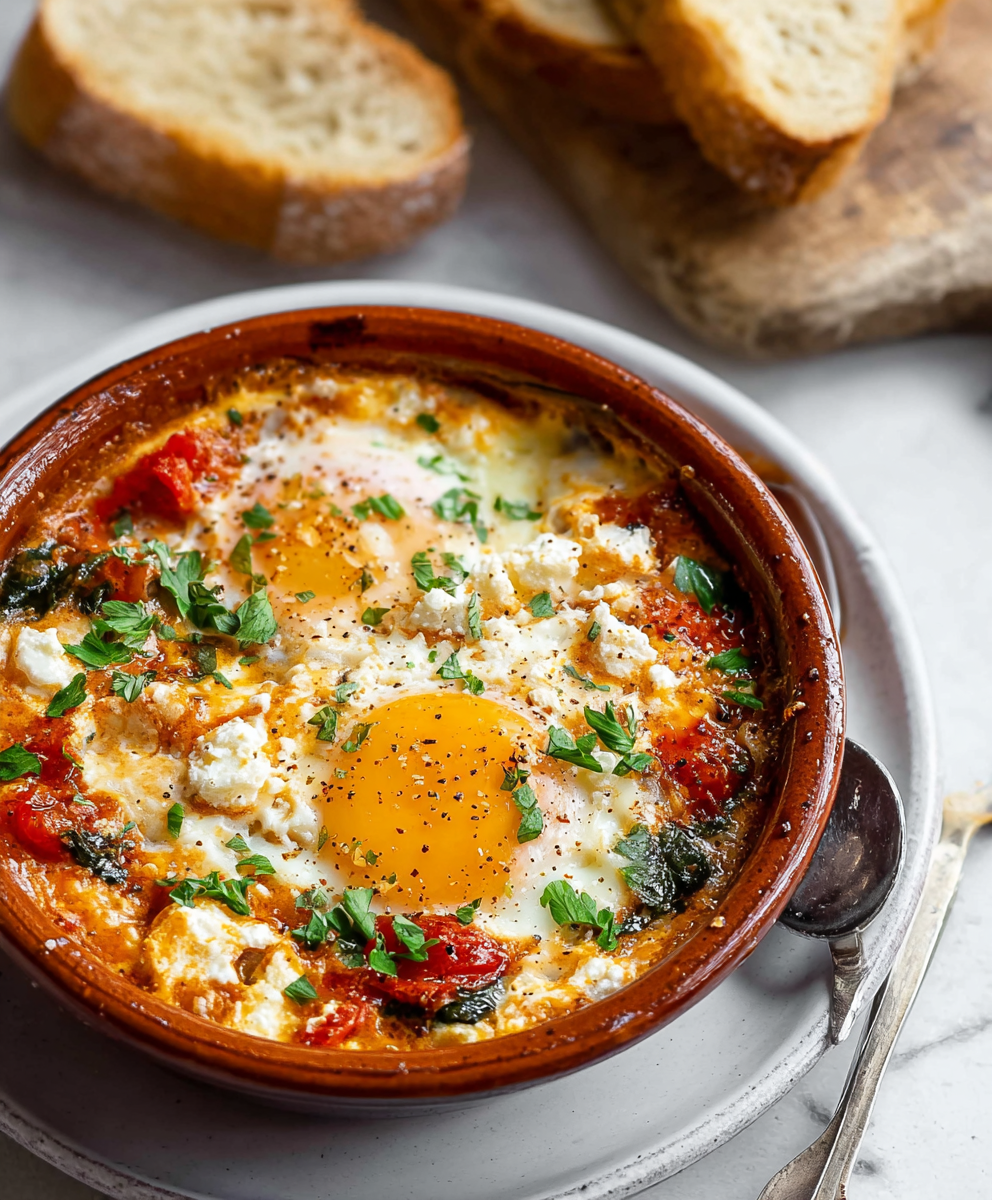
A vibrant oven baked dish of roasted tomatoes, tender feta, wilted spinach and baked eggs. Bright, tangy and perfect for breakfast or brunch with crusty bread.
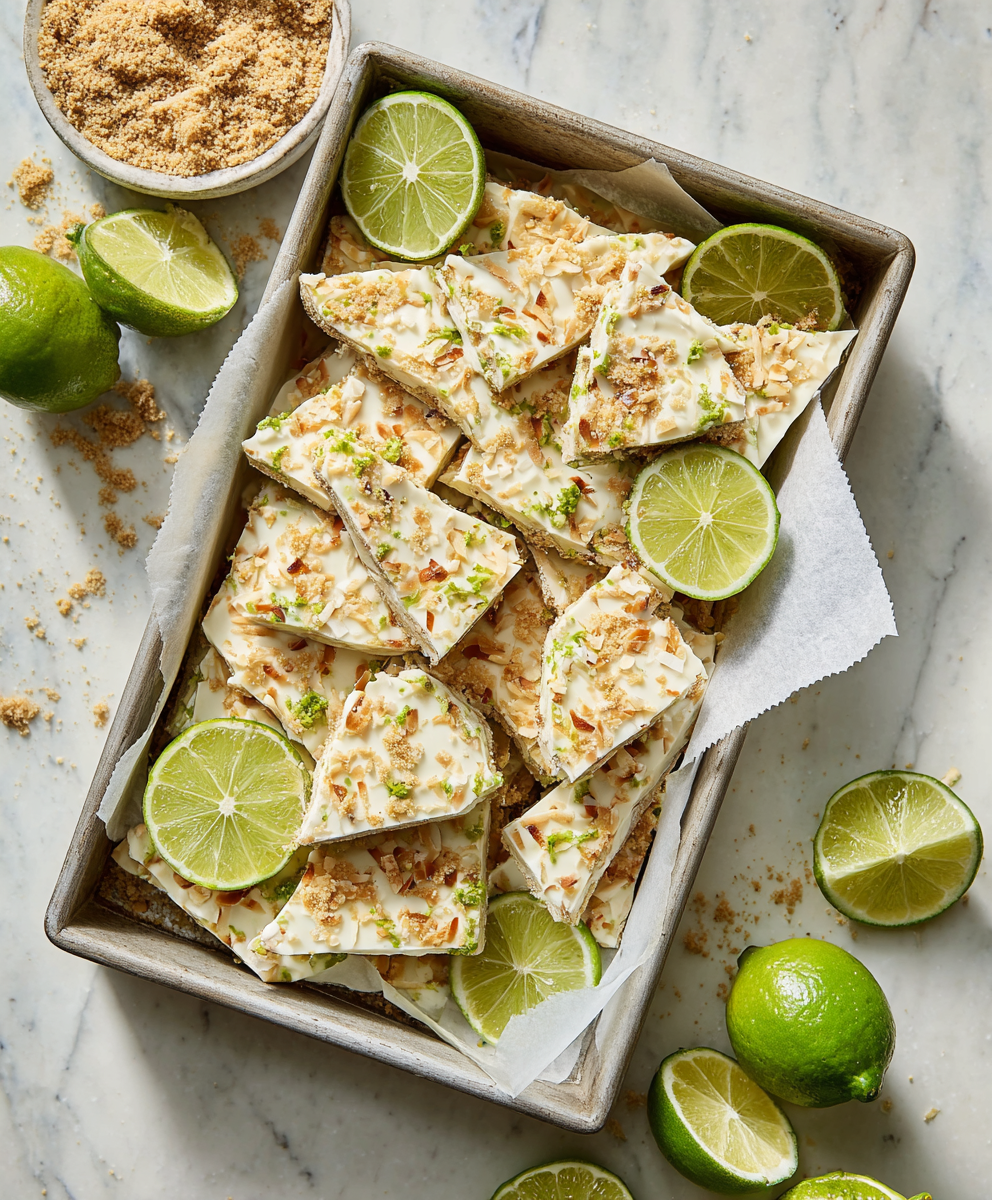
A bright, protein-packed frozen treat that captures the tart-sweet charm of key lime pie in a simple yogurt bark — perfect for hot days, make-ahead snacks, and gluten-free diets.
Leave a comment & rating below or tag @cozycookscorner on social media!
Enjoyed this recipe? Share it with friends and family, and don't forget to leave a review!
This recipe looks amazing! Can't wait to try it.
Comments are stored locally in your browser. Server comments are displayed alongside your local comments.

Join to receive our email series which contains a round-up of some of our quick and easy family favorite recipes.