
Christmas Pinwheel Cookies

Festive red, green, and vanilla pinwheel cookies that slice into perfect spirals—easy to make ahead and a holiday favorite for gifting and parties.
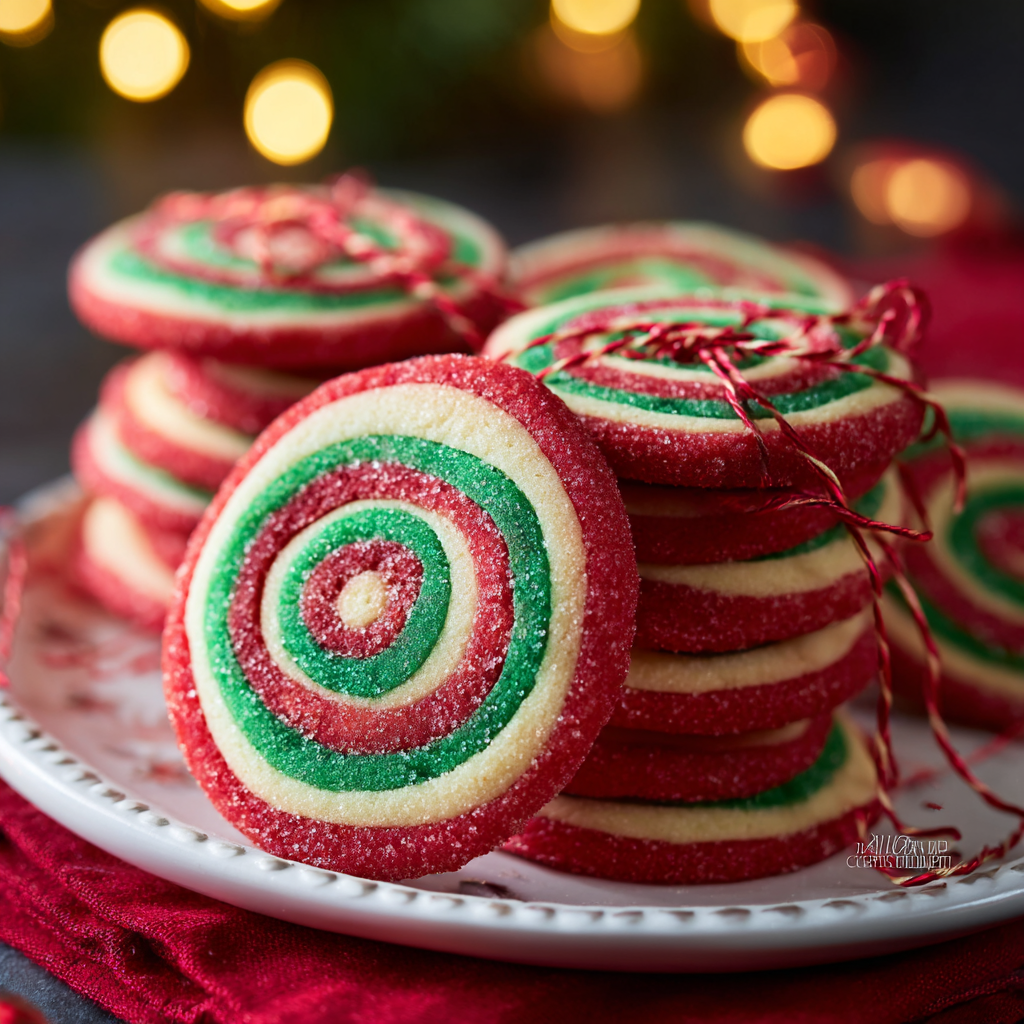
This batch of Christmas pinwheel cookies has been my seasonal go-to ever since I first rolled the layers together on a snowy December afternoon. The recipe is deceptively simple: a buttery, tender dough split into three portions, tinted in classic holiday colors and rolled into a tight log so each slice reveals a happy spiral. I discovered this method while trying to make giftable cookies that travel well; the freezing step and sturdy texture mean they survive a short carriage without crumbling, and every plate of cookies at our neighborhood cookie exchange drew oohs and ahhs.
What I love most is how the cookies combine crisp edges with a soft, slightly sandy center. The sugar sparkles on the edges when you roll them in red sanding sugar, and the thin 1/3-inch slices bake quickly into little discs that are perfect with a mug of hot cocoa. The technique is forgiving: even if your layers are imperfect, rolling tightly and chilling will coax them into neat spirals. These cookies are also great for involving kids—coloring dough and rolling logs is a festive activity that makes the holidays feel hands-on.
Why You'll Love This Recipe
- Ready for the oven in under an hour of active time; chilling and freezing steps add hands-off time that fits well into a busy holiday schedule. The actual bake time is only 8 to 10 minutes per sheet.
- Uses pantry staples—butter, sugar, egg and flour—so you can usually pull everything together at a moment's notice without a specialty trip to the store.
- Make-ahead friendly: the dough logs freeze beautifully for up to one month, allowing you to slice and bake fresh cookies whenever you need them for parties or last-minute gifts.
- Crowd-pleasing appearance: the red-and-green spirals look festive on a platter and are a hit with both kids and adults at potlucks or cookie exchanges.
- Customizable: swap colors, use flavored extracts, or add a hint of almond or orange zest for a twist that complements coffee and mulled wine.
- Travel-ready: these hold their shape well in tins, making them ideal for postal gifts or neighborhood drop-offs.
I still remember the first time I brought a tin of these to our annual cookie swap—my friend Ava asked for the recipe on the spot, and later texted a photo of her kids arranging the cookies by spiral color. The layering and rolling always sparks conversation and looks far more impressive than the humble ingredient list suggests.
Ingredients
- Unsalted butter (2/3 cup): Use high-quality, full-fat butter for the best flavor and texture. I prefer European-style butter when available for its higher butterfat and creamier mouthfeel; soften to room temperature so it creams smoothly with sugar.
- Granulated sugar (2/3 cup): Regular white sugar provides the classic buttery cookie crumb and helps the edges caramelize slightly. Measure by spooning into the cup and leveling off for accuracy.
- Large egg (1): Adds richness and structure. Use a room-temperature egg to help emulsify the dough for a tender, cohesive texture.
- Pure vanilla extract (1 teaspoon): Choose a good-quality vanilla; it subtly lifts the overall flavor without competing with the festive colors.
- All-purpose flour (1 3/4 cups): Provides the cookie’s body. Spoon and level when measuring to avoid a dense dough. If you prefer a slightly lighter crumb, sift before measuring.
- Kosher salt (1/2 teaspoon): Salt balances sweetness and enhances butter flavor—don’t skip it. If using table salt, reduce slightly to 1/4 teaspoon.
- Baking soda (1/4 teaspoon): A small amount helps the cookies set with a slightly tender lift; it prevents a flat, greasy texture.
- Red and green gel food coloring: Gel concentrates color without watering down the dough. Add sparingly until you reach a vibrant hue.
- Red sanding sugar (to garnish): Creates the sparkling outer edge and adds a pleasant crunch. Coarse sanding sugar holds up in baking; avoid superfine varieties here.
Instructions
Combine butter and sugar: In the bowl of a stand mixer fitted with the paddle attachment, beat 2/3 cup softened unsalted butter and 2/3 cup granulated sugar on medium speed for about 3 to 4 minutes until pale and creamy. Proper creaming incorporates air which helps the dough remain tender; scrape the bowl once or twice to prevent streaks. Add egg and vanilla: Beat in 1 large room-temperature egg and 1 teaspoon pure vanilla extract until fully incorporated. The mixture should look glossy and slightly thickened; this signals good emulsification before adding dry ingredients. Whisk dry ingredients: In a medium bowl, whisk together 1 3/4 cups all-purpose flour, 1/2 teaspoon kosher salt, and 1/4 teaspoon baking soda. Whisking distributes the leavening agent and salt evenly so every slice bakes uniformly. Combine wet and dry: With the mixer on low, gradually add the flour mixture and beat just until combined. Overmixing develops gluten and will yield a tougher cookie, so stop as soon as you see no dry streaks. Portion and color: Turn the dough onto a lightly floured surface and divide into three equal portions. Return one portion to the mixer bowl, add a small amount of red gel color and beat until evenly tinted. Wipe the bowl, repeat for another portion with green gel color. Leave the third portion plain. Shape each into a ball, wrap tightly in plastic, and chill for 1 hour to firm up the butter. Roll into squares and chill: Working between two sheets of parchment paper, roll each dough ball into a 7-inch square. Chill each sheet for 15 minutes to reduce spreading and make the layers easier to stack and roll. Layer and roll into a log: Stack the squares on a fresh piece of parchment in this order: red, green, plain. Add another sheet on top and gently roll the stack into a 12 by 8-inch rectangle to even out thickness. Remove the top parchment, then starting from a long side, roll tightly into a log. Wrap the log in parchment and freeze for 1 hour to firm for clean slicing. Preheat and slice: Preheat oven to 350 degrees F and line baking sheets with parchment. Using a serrated knife, cut the frozen log into 1/3-inch thick slices. If the log softens while slicing, return it to the freezer for 10 minutes to firm up. Roll the cut edges lightly in red sanding sugar for sparkle. Bake and cool: Place slices 1 inch apart on the prepared sheets and bake 8 to 10 minutes until set but not browned. Let cool on the baking sheet 1 minute before transferring to a wire rack to cool completely. Cool completely before storing to preserve crunch and appearance.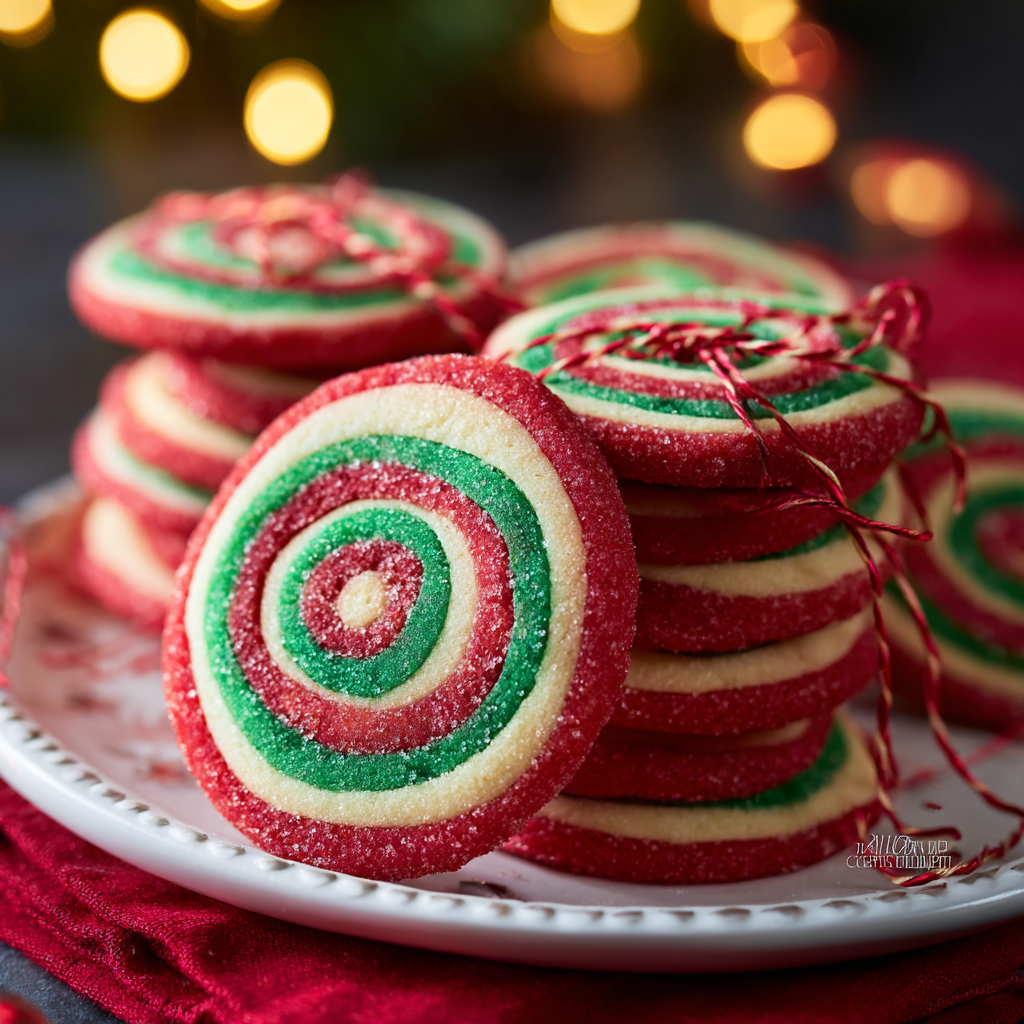
You Must Know
- These are high in simple carbohydrates and butter: store at room temperature in an airtight container for up to 5 days, or freeze baked cookies for up to 3 months.
- The dough logs can be frozen for up to 1 month; slice from frozen and bake directly—no need to thaw, which preserves the spiral definition.
- Each slice bakes quickly: watch during the 8 to 10 minute window. Remove at the first sign of setting to retain a tender center.
- They travel well in tins and are ideal for gifting because the sanding sugar and tight spiral protect the edges.
My favorite part of making these is the ritual of rolling and freezing: it feels like crafting a present. One holiday, I prepared several logs and invited neighbors to slice and bake fresh cookies together. The communal baking became a new tradition, and everyone left with a box of warm spirals and a memory.

Storage Tips
Store cooled cookies in an airtight container at room temperature for up to 5 days. Place a sheet of parchment between layers to prevent sticking. For longer storage, freeze cooled cookies in a single layer on a tray for one hour, then transfer to a freezer-safe container for up to 3 months. To refresh slightly soft frozen cookies, warm them in a 300 degrees F oven for 3 to 5 minutes.
Ingredient Substitutions
To reduce sweetness, swap half the granulated sugar for superfine sugar for a finer crumb and slightly less surface sparkle. For a dairy-free version, replace butter with a 1:1 plant-based baking spread formulated for baking and add 1/8 teaspoon xanthan gum to help structure. For a nutty lemon variation, add 1/2 teaspoon finely grated lemon zest to the plain layer and 1/4 teaspoon almond extract to the colored layers.
Serving Suggestions
Serve on a contrasting platter so the spirals pop—dark stoneware works beautifully. Pair with spiced hot chocolate, coffee, or mulled cider. For parties, arrange with other small cookies and a few sprigs of fresh rosemary or pine to echo the Christmas palette. These also make lovely edible gifts when stacked in cello bags tied with ribbon.
Cultural Background
Spiral cookies are a modern interpretation of layered rolled pastries and cookies found in Central European baking traditions, where colored and flavored layers are often used for festive occasions. The pinwheel motif became particularly popular in American holiday baking during the 20th century when colored food gels and sanding sugars made bold, consistent hues easy to achieve at home.
Seasonal Adaptations
For winter, use classic red and green. For a Valentine’s version swap green for pink and use heart-shaped cutters on firm slices. In spring, substitute pastel colors and add 1/2 teaspoon lemon zest across the plain dough. For a New Year’s twist, use gold sanding sugar instead of red for a glitzy finish.
Meal Prep Tips
Prepare dough logs during a quiet evening and freeze overnight. The next day, slice and bake only what you need. For gift prep, bake a dozen cookies, cool completely, and layer them with parchment in a tin. Keep extra dough logs frozen so you can bake fresh batches for unexpected guests.
These spiraled treats are as much about the process as the final bite. Rolling, chilling, slicing and sharing creates small rituals that make holiday baking feel intentional. Give this a try and make it your own—swap flavors, involve family, and enjoy the sparkle in every bite.
Pro Tips
Chill the dough balls thoroughly; well-chilled dough yields cleaner spirals when rolling and slicing.
Use gel coloring to tint dough so you add less liquid and keep dough consistency stable.
Slice the log while still very cold to prevent smearing; a serrated knife gives the cleanest cut.
If slices puff unevenly, reduce oven temperature by 10°F and bake a minute or two longer.
This nourishing christmas pinwheel cookies recipe is sure to be a staple in your kitchen. Enjoy every moist, high protein slice — it is perfect for breakfast or as a wholesome snack any time.
Tags
Christmas Pinwheel Cookies
This Christmas Pinwheel Cookies recipe makes perfectly juicy, tender, and flavorful steak every time! Serve with potatoes and a side salad for an unforgettable dinner in under 30 minutes.
Ingredients
Dough
Instructions
Cream butter and sugar
Beat 2/3 cup softened unsalted butter with 2/3 cup granulated sugar on medium speed for 3–4 minutes until pale and creamy; scrape the bowl as needed.
Add egg and vanilla
Beat in 1 large room-temperature egg and 1 teaspoon vanilla until glossy and fully incorporated.
Combine dry ingredients
Whisk 1 3/4 cups all-purpose flour, 1/2 teaspoon kosher salt, and 1/4 teaspoon baking soda in a separate bowl to ensure even distribution.
Mix wet and dry
With the mixer on low, add the flour mixture gradually and beat just until combined to avoid overdeveloping gluten.
Portion and color dough
Divide dough into three portions. Tint one portion red and another green using gel coloring; leave the third plain. Shape into balls, wrap, and refrigerate 1 hour.
Roll squares and chill
Between parchment sheets, roll each portion to a 7-inch square. Chill each for 15 minutes to firm for stacking and rolling.
Stack, roll to rectangle, and form log
Stack red, green, and plain layers on parchment. Cover and roll to a 12×8-inch rectangle. Remove top parchment and tightly roll from a long side into a log. Wrap and freeze 1 hour.
Slice and add sanding sugar
Preheat oven to 350°F. Using a serrated knife, slice frozen log into 1/3-inch rounds. Roll edges in red sanding sugar and place 1 inch apart on parchment-lined sheets.
Bake and cool
Bake 8–10 minutes until set. Cool on sheet 1 minute, then transfer to a wire rack to cool completely before storing.
Last Step: Please leave a rating and comment letting us know how you liked this recipe! This helps our business to thrive and continue providing free, high-quality recipes for you.
Nutrition
Did You Make This?
Leave a comment & rating below or tag
@cozycookscorner on social media!
Categories:
You might also like...
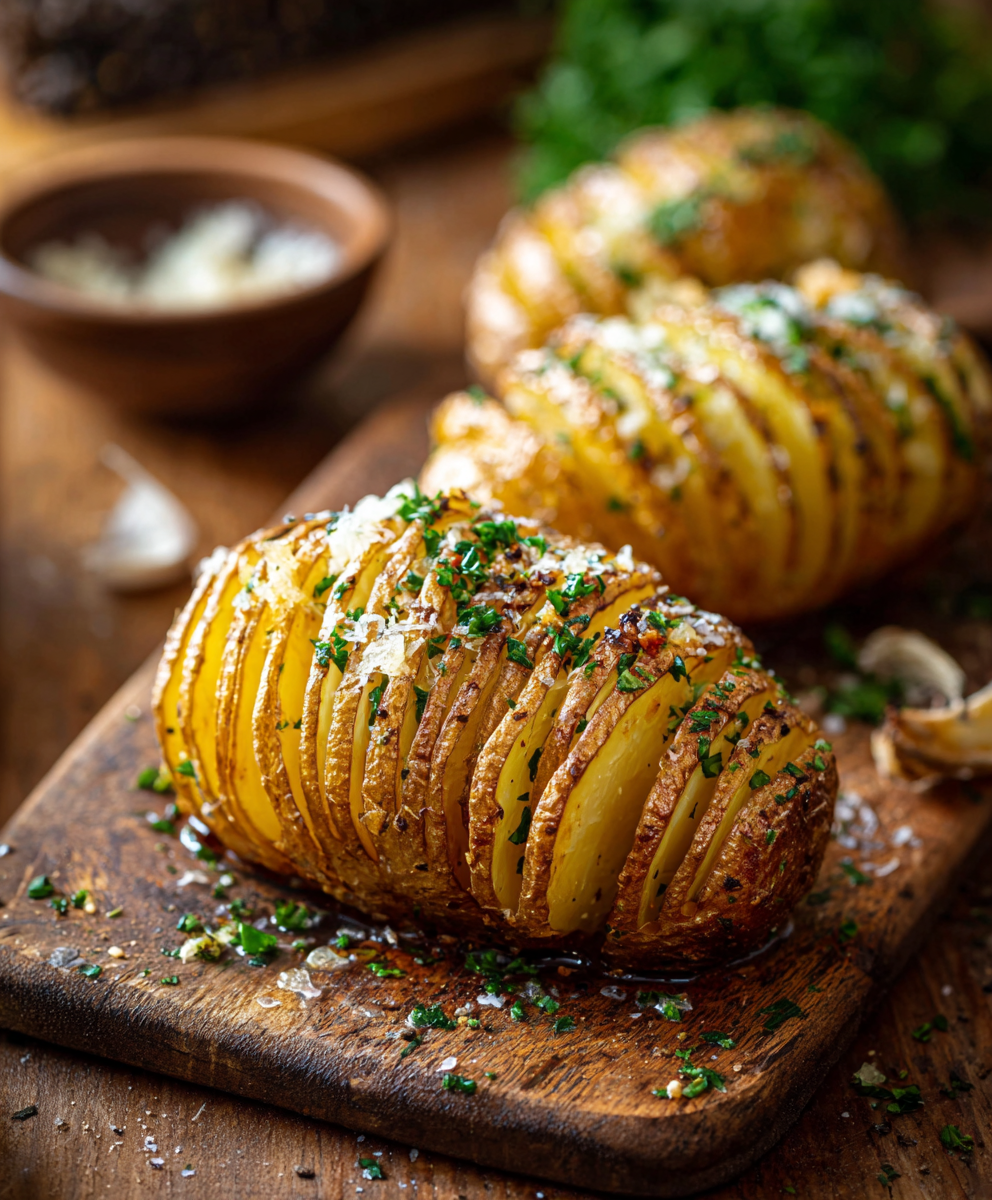
Crispy Hasselback Potatoes
Thinly sliced, buttery, and golden-brown Hasselback potatoes—an easy, show-stopping side that crisps on the outside and stays tender inside.
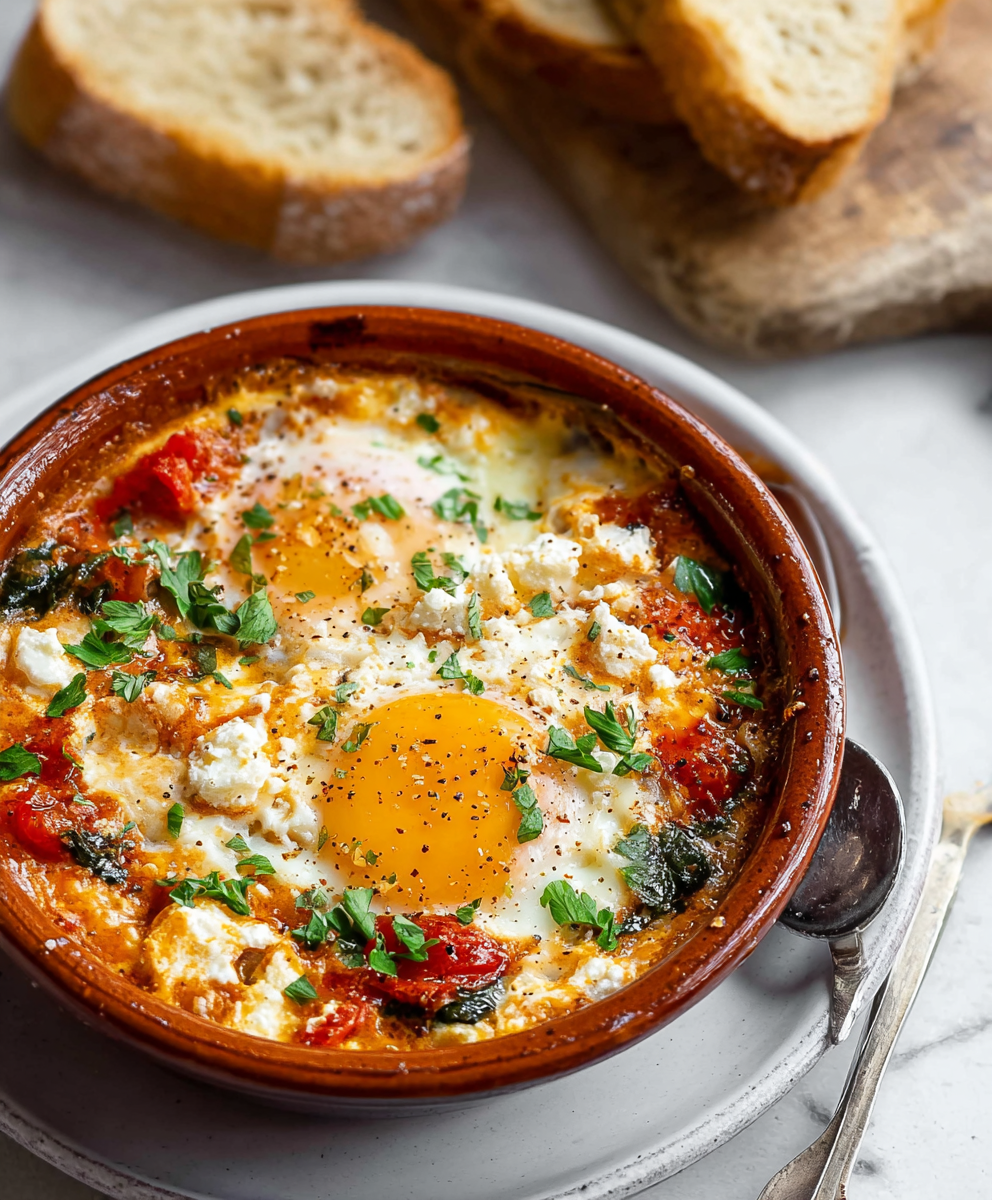
Baked Feta Eggs
A vibrant oven baked dish of roasted tomatoes, tender feta, wilted spinach and baked eggs. Bright, tangy and perfect for breakfast or brunch with crusty bread.
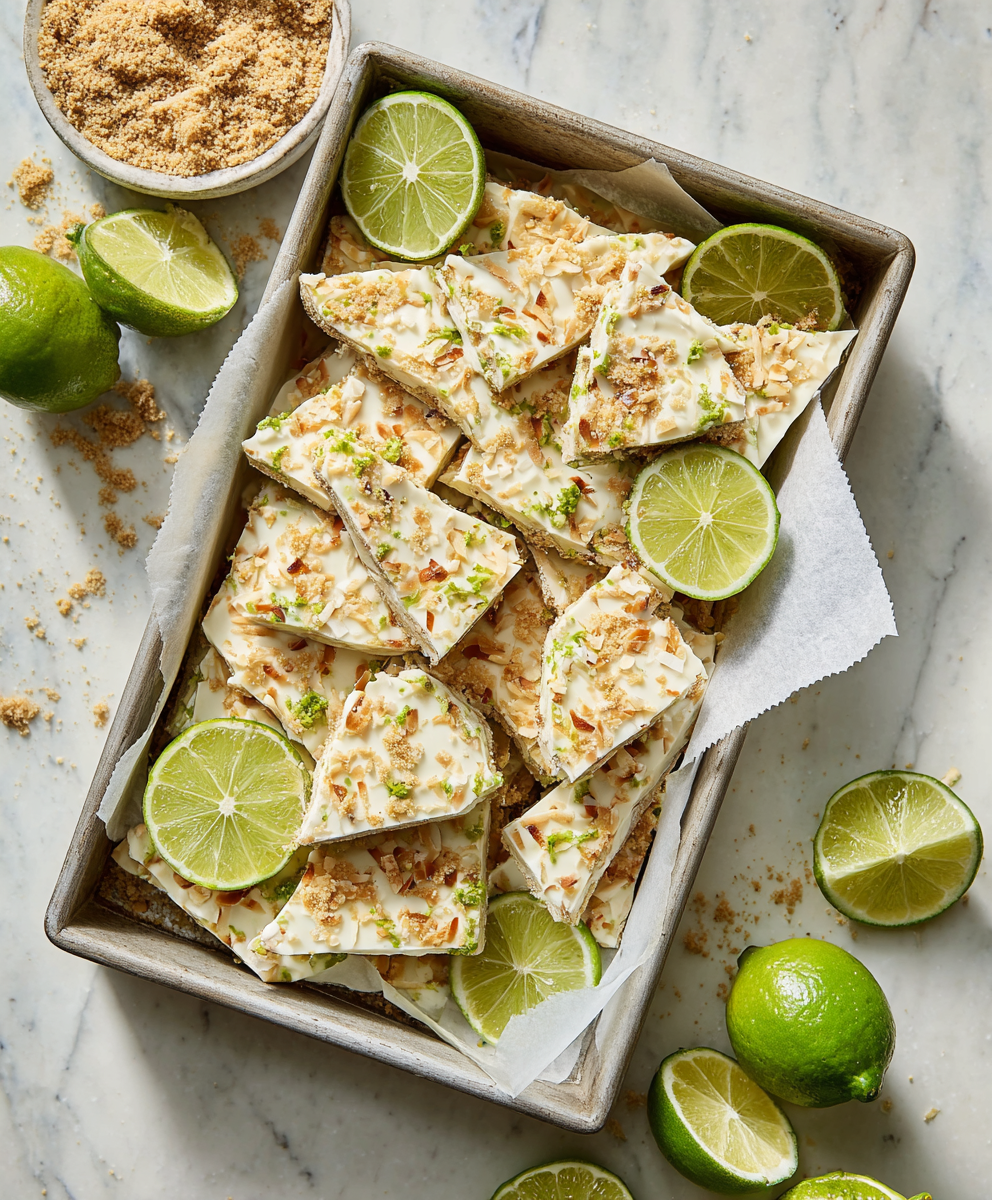
Key Lime Pie Yogurt Bark
A bright, protein-packed frozen treat that captures the tart-sweet charm of key lime pie in a simple yogurt bark — perfect for hot days, make-ahead snacks, and gluten-free diets.
Did You Make This?
Leave a comment & rating below or tag @cozycookscorner on social media!
Rate This Recipe
Share This Recipe
Enjoyed this recipe? Share it with friends and family, and don't forget to leave a review!
Comments (1)
This recipe looks amazing! Can't wait to try it.
Comments are stored locally in your browser. Server comments are displayed alongside your local comments.

Hi, I'm Lina!
What's Popular
30-Minute Meals!
Join to receive our email series which contains a round-up of some of our quick and easy family favorite recipes.